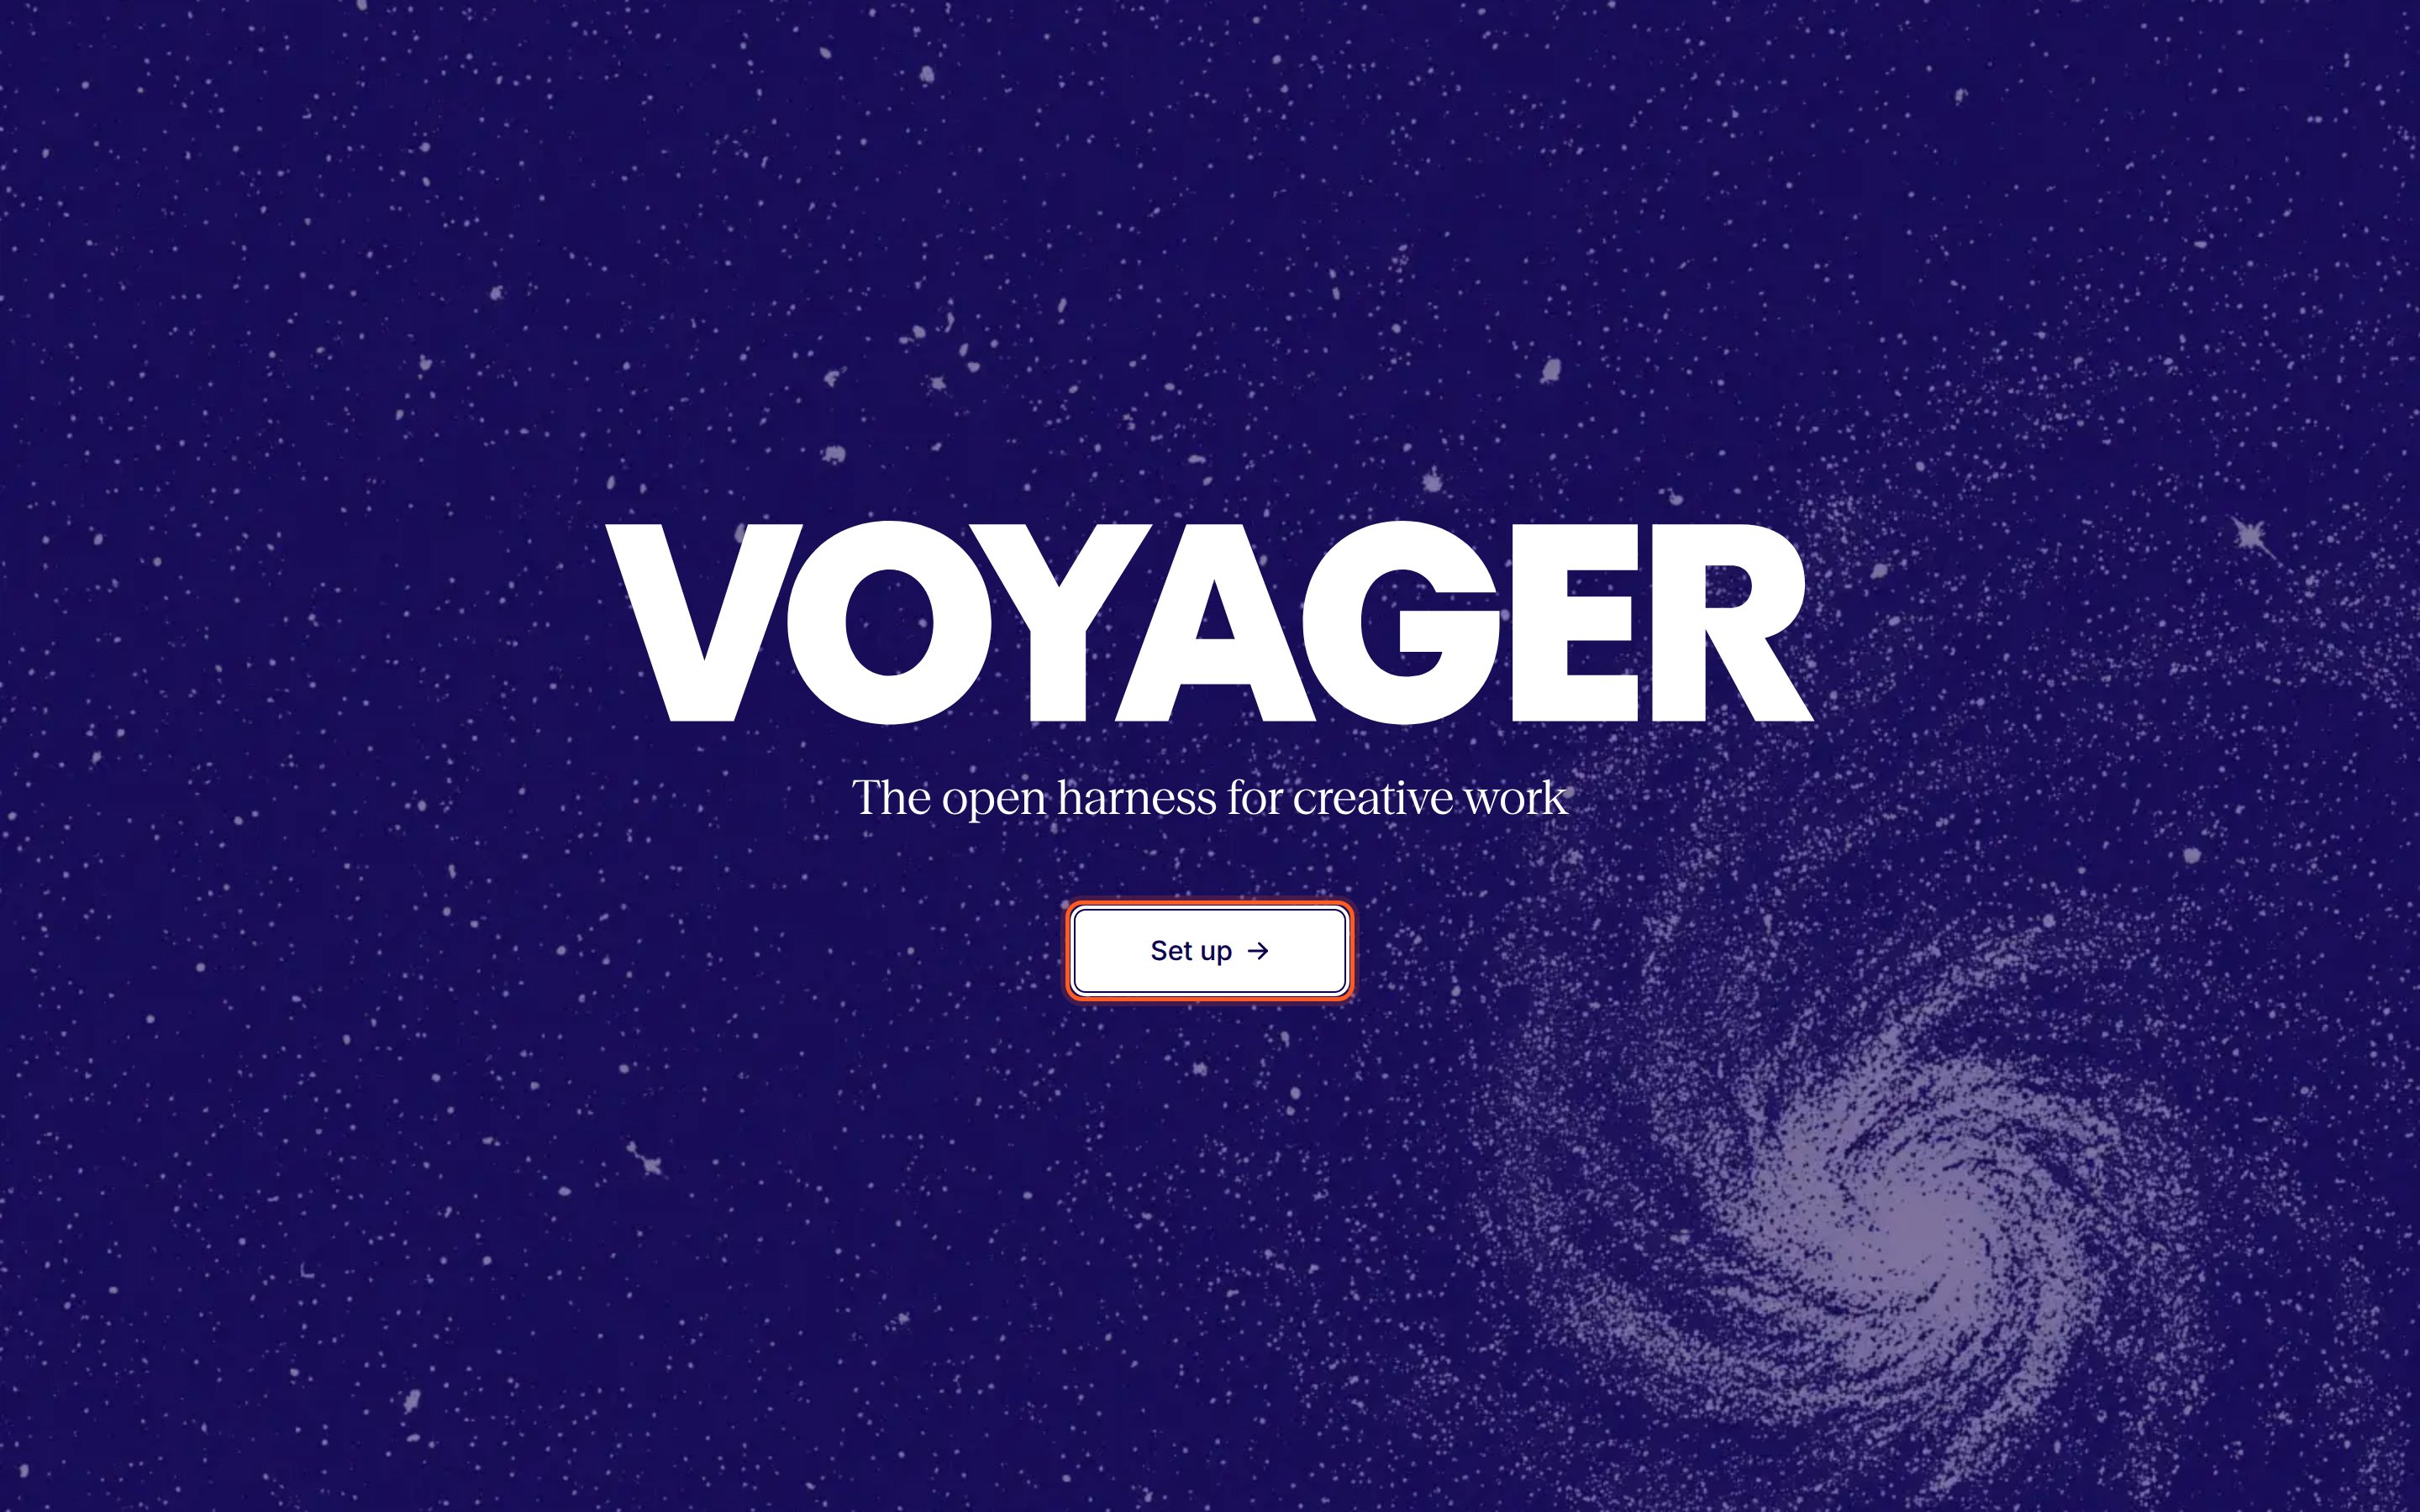
The first time you open Voyager, you see the welcome screen with one button. Click Set up.
The welcome screen. Set up opens sign-in in your browser.
On Windows, a Smart App Control notice may appear under the button. Its Learn more link explains your options.
2
Sign in or create an account in your browser
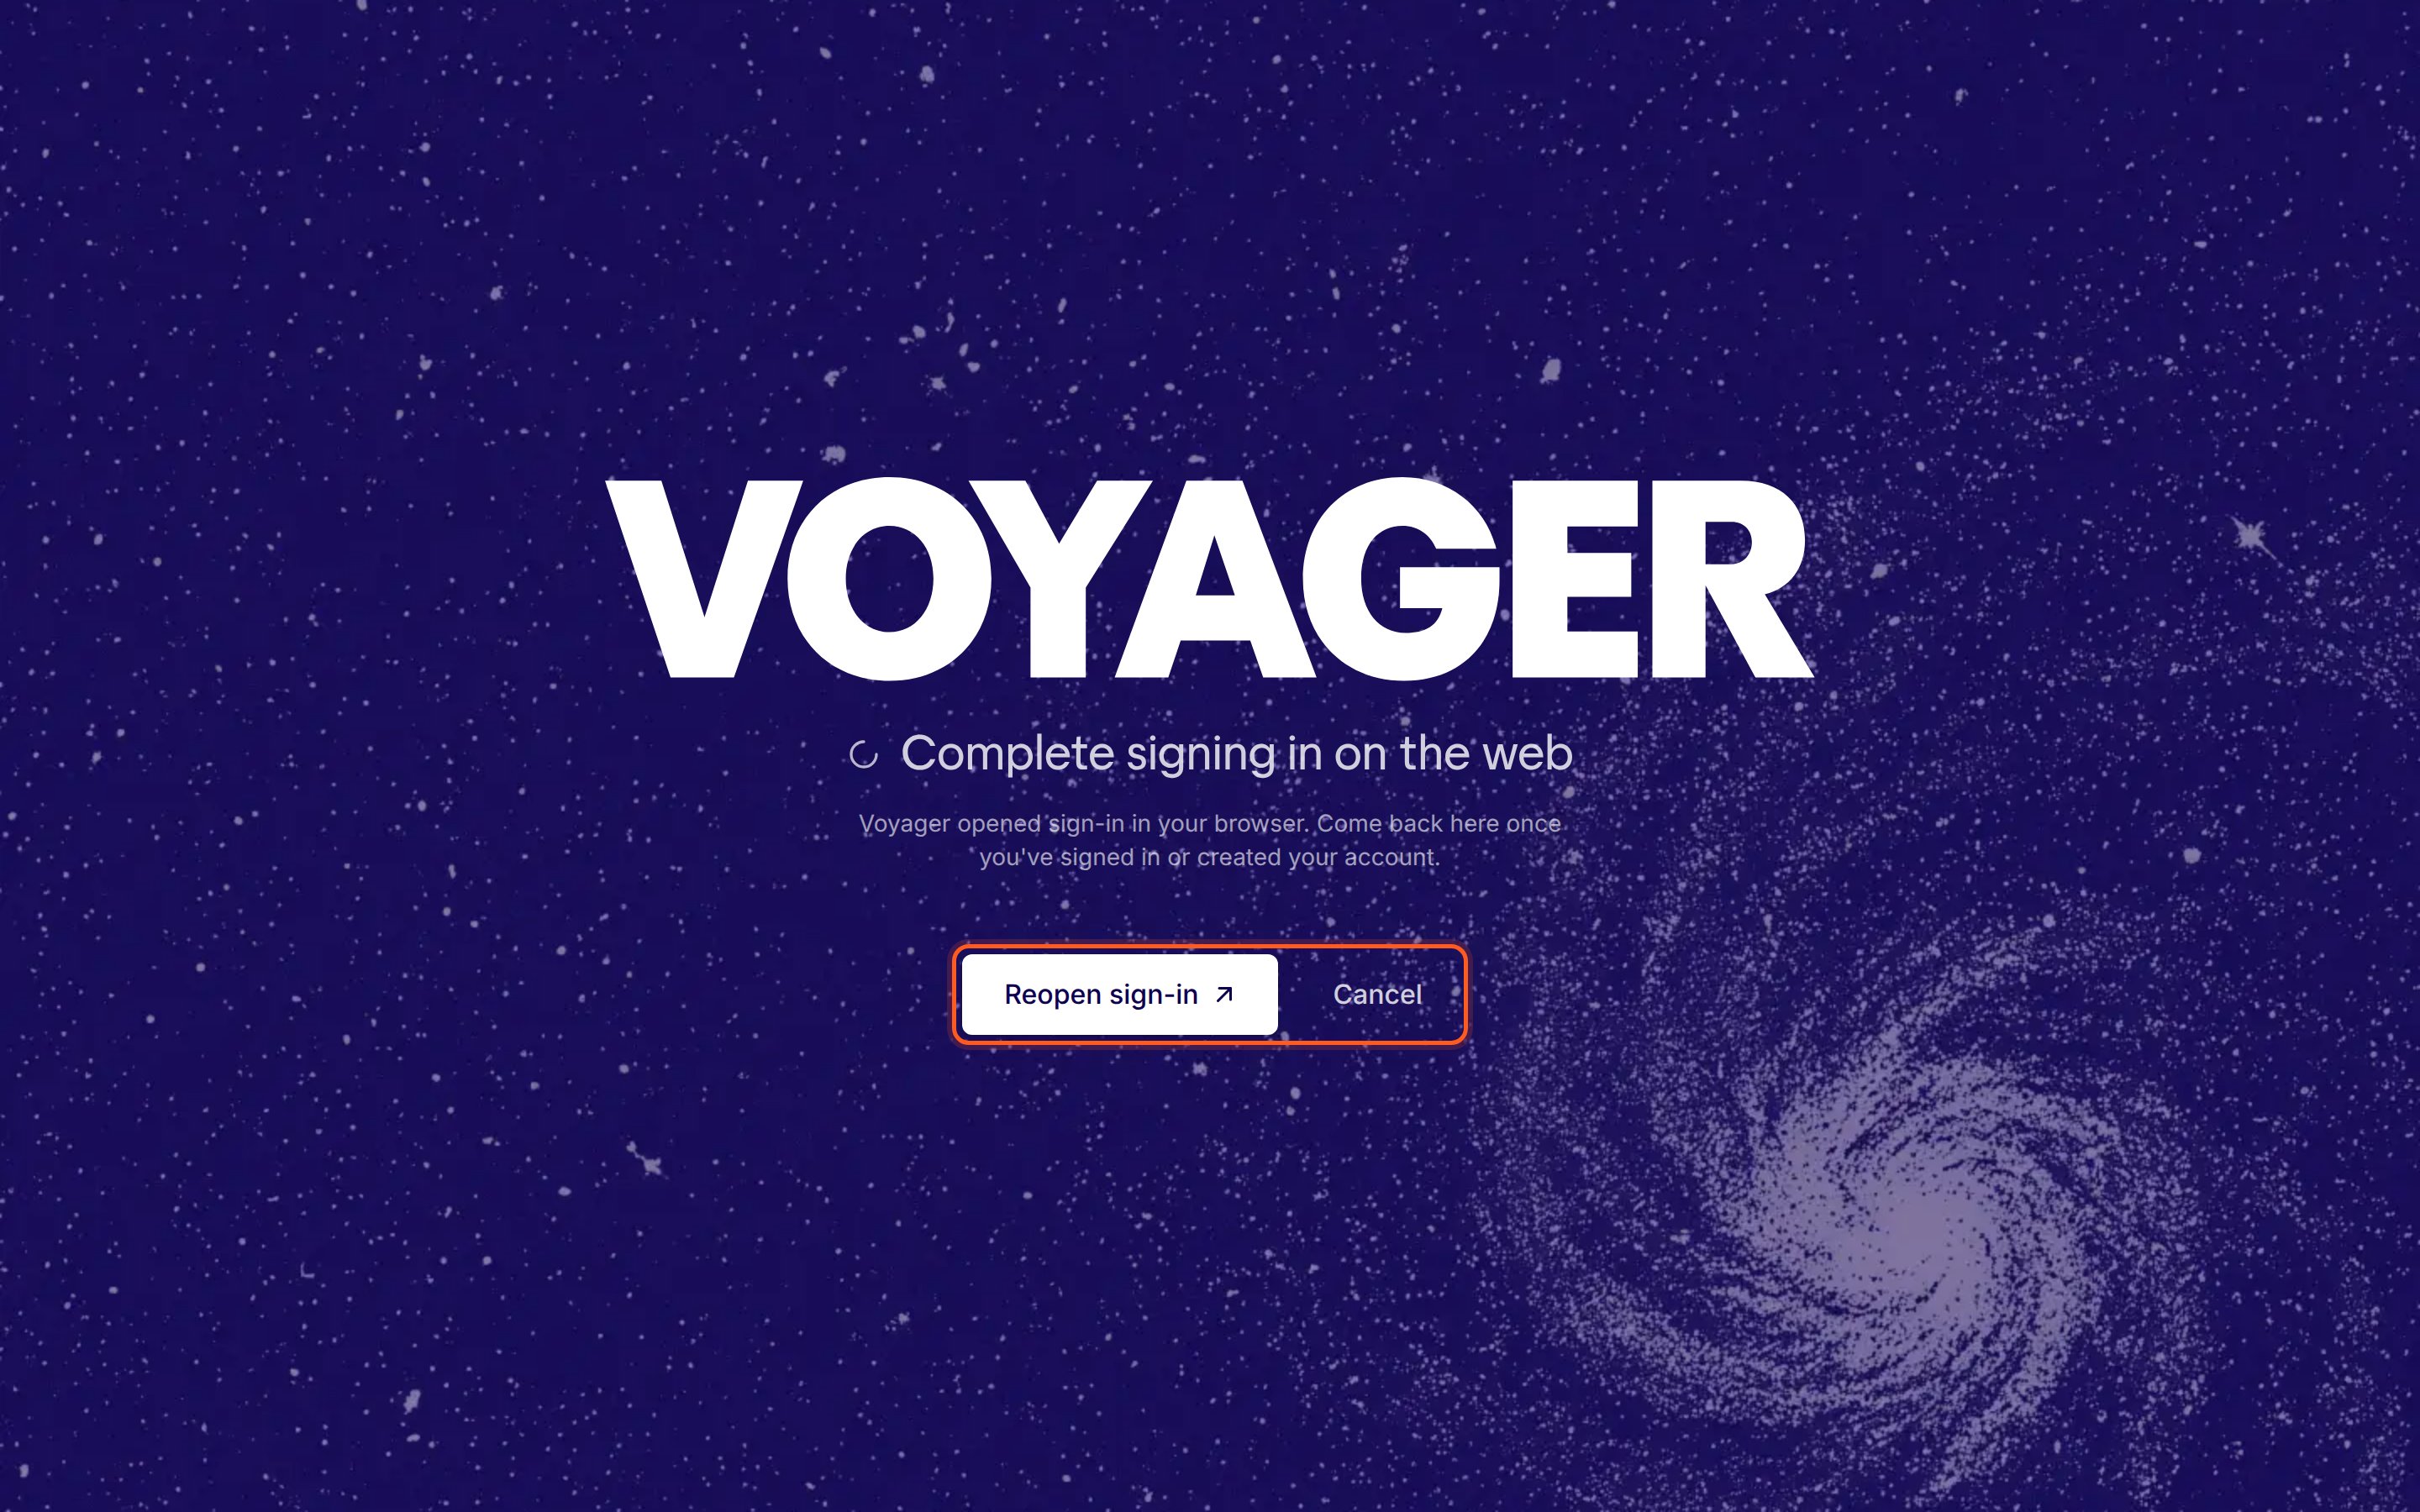
Voyager opens a sign-in page in your default browser and shows Complete signing in on the web while it waits.In the browser, sign in to your Voyager account, or create one. When you’re done, the browser page says You’re signed in (or Choose a workspace) and takes you back to Voyager. If your browser asks whether to open Voyager, allow it. Voyager moves on by itself; you don’t need to click anything.
Voyager waits here while you sign in. It continues on its own when the browser hands back.
Closed the tab by accident? Click Reopen sign-in to bring the same page back. Cancel returns you to the welcome screen.
On a Mac, macOS may ask whether Voyager can use your keychain. Allow it: that’s where Voyager keeps your sign-in.
3
Choose your workspace
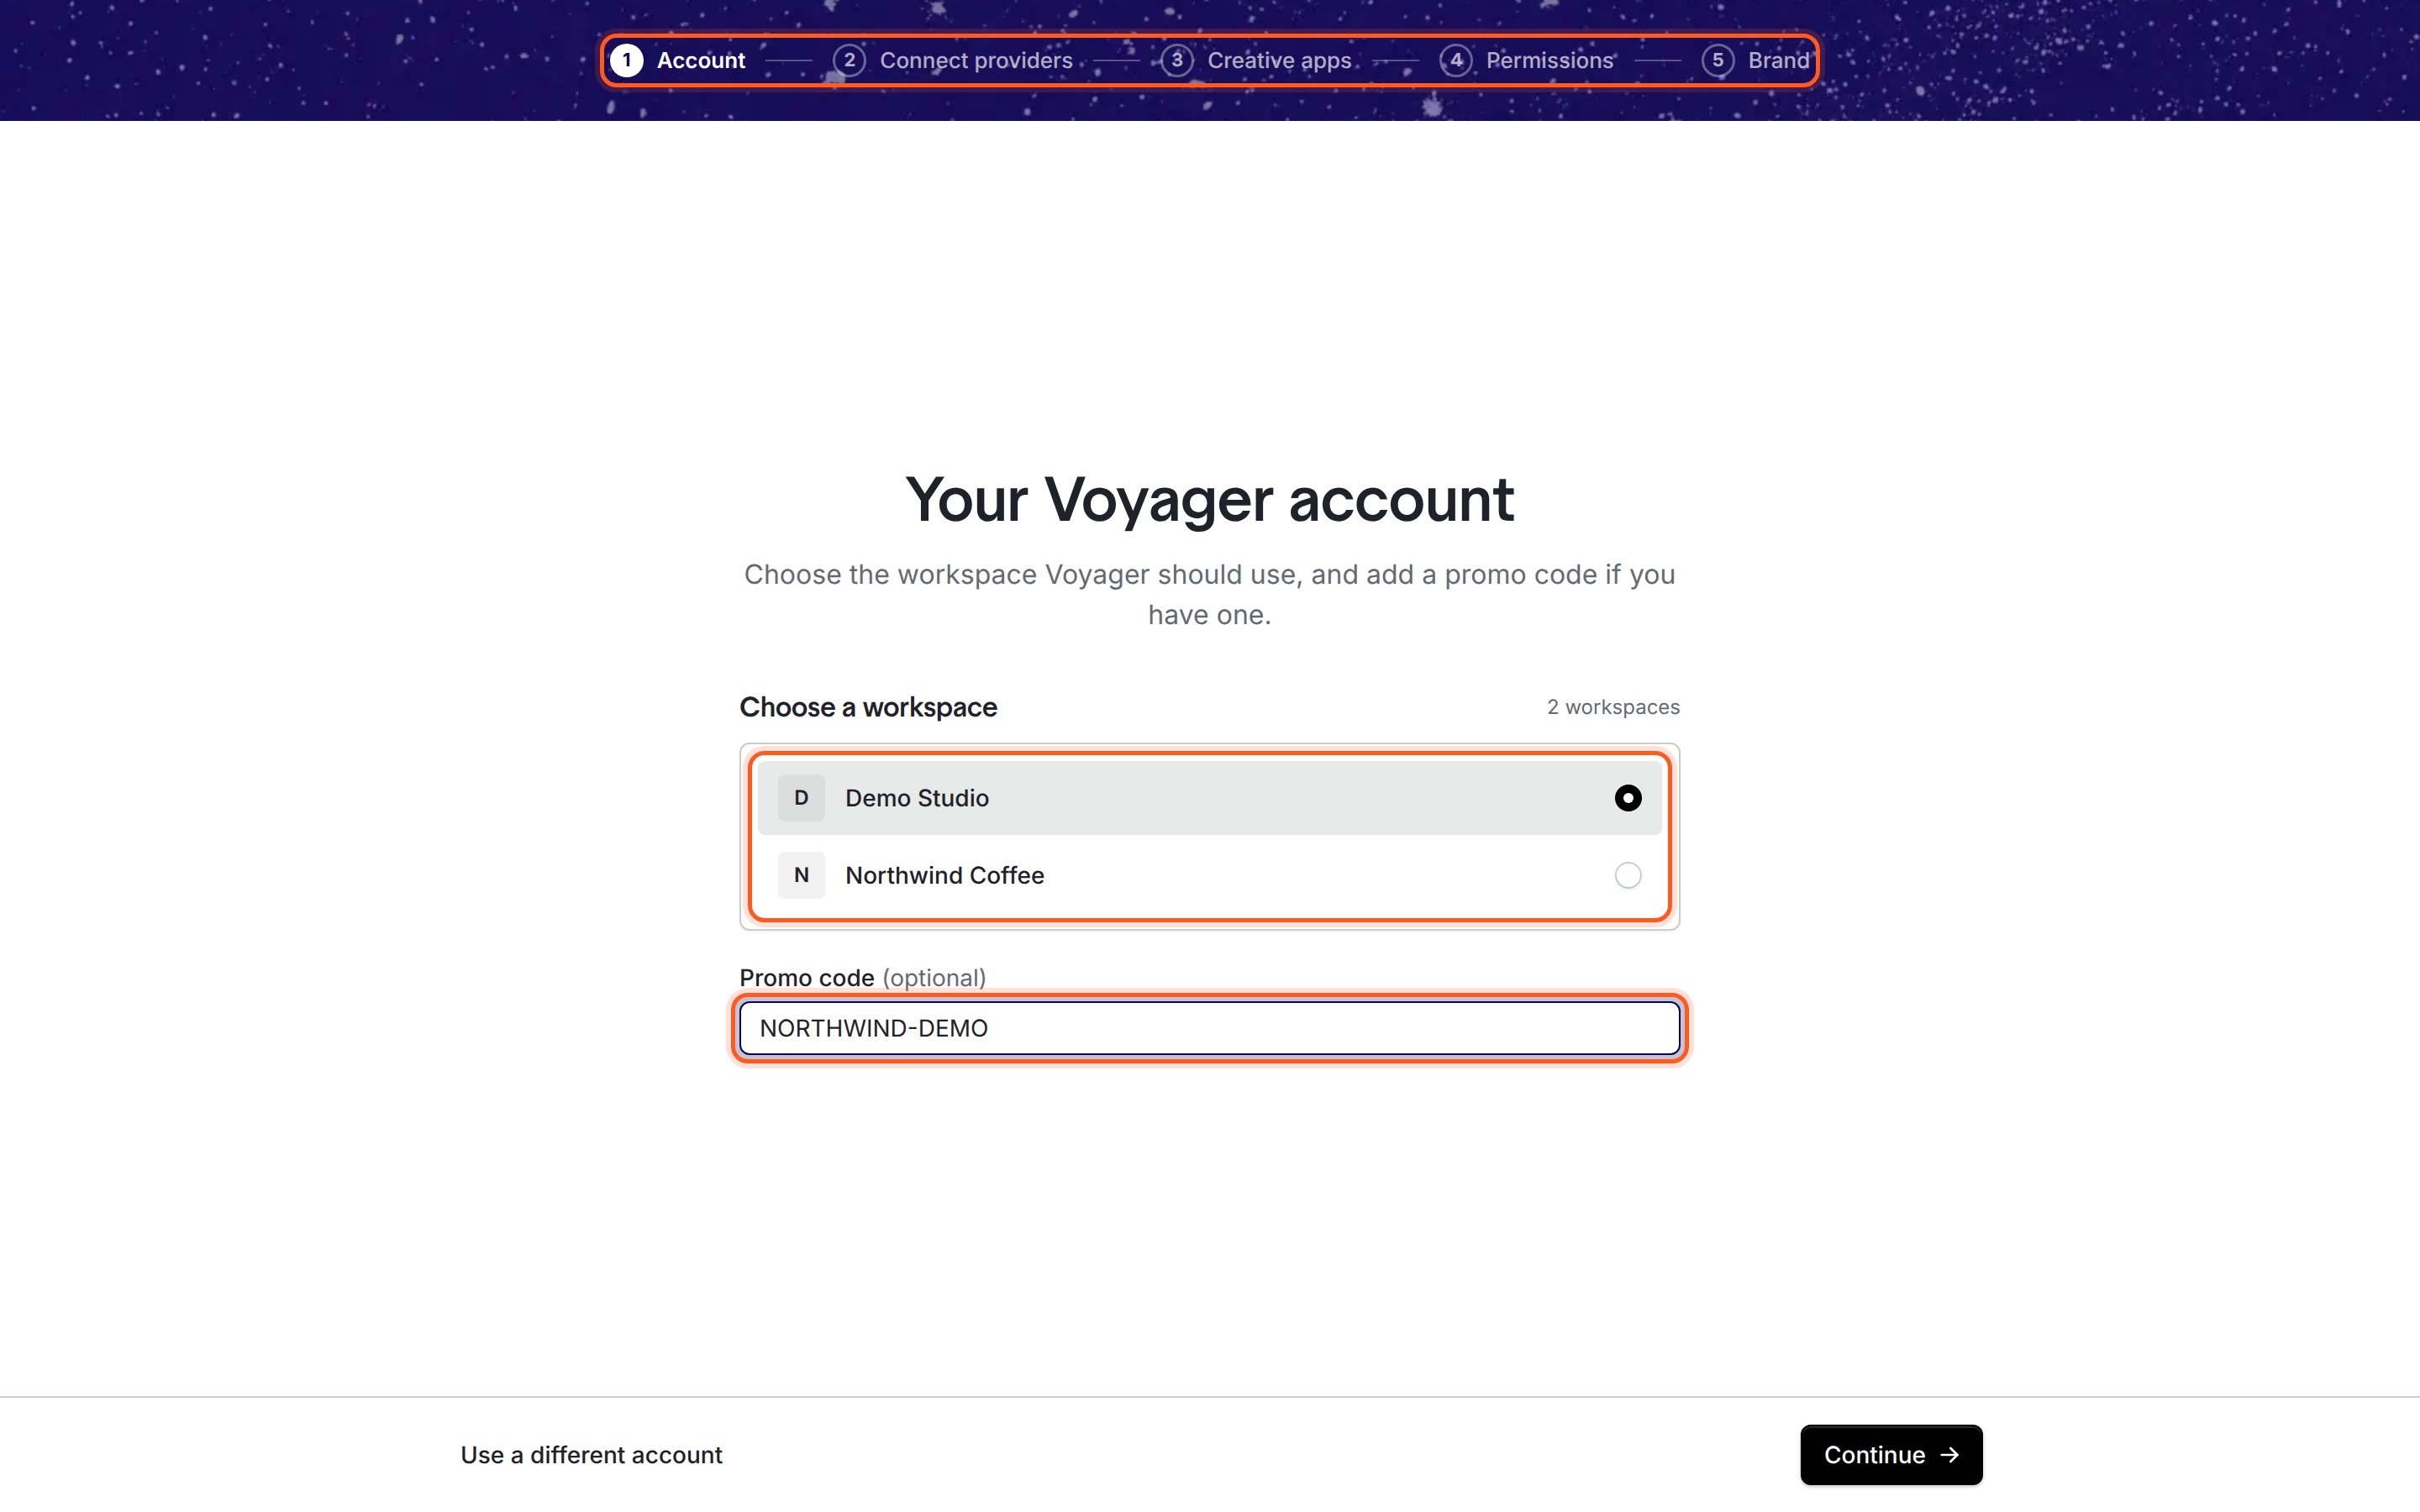
Back in Voyager, the Account step shows Your Voyager account and the email you signed in with.
If your account has one workspace, it’s already selected under Workspace.
If you belong to several, pick one under Choose a workspace. With more than five, a search box helps you find it.
The workspace decides which plan, credits and brand kits Voyager uses.
The Account step. Pick your workspace and add a promo code if you have one.
4
Add a promo code (optional)
If you have a promo code, type it in Promo code (optional). Voyager applies it when you click Continue, and shows the result at the top of the next step, for example Code applied or a message that a trial has started.A code that doesn’t work never stops setup. You can try it again later in Settings → Accounts.
5
Click Continue
Click Continue. The button reads Setting up… while Voyager checks your account, then you move to Connect providers.Signed in to the wrong account? Click Use a different account instead. The browser asks you to sign in again, so you can pick another account.
The browser sign-in has to finish within about five minutes, and choosing a workspace within a few minutes after that. Click Try again and complete the browser page without leaving it open in the background. If you see The workspace choice timed out. Sign in again., start sign-in again and pick your workspace straight away.
“Voyager could not access macOS Keychain to save your Voyager connection.”
Voyager couldn’t save your sign-in. Unlock your login keychain (signing out of macOS and back in usually does this), allow Voyager access when macOS asks, then click Try again.On Linux the message mentions your system credential store: unlock your keyring, such as GNOME Keyring or KWallet, and allow Voyager access.
Windows: “Windows Smart App Control blocked Voyager's credential storage component.”
While the Windows alpha is unsigned, Smart App Control blocks the part of Voyager that saves your sign-in. Reinstalling won’t help. Read Windows Smart App Control for your options.
Continue shows “Sign in to Voyager to continue.”
Your sign-in ended or wasn’t confirmed. Click Sign in on the Account step and sign in again in the browser.