Sign in at voyager.so, or create a free account, then go to Download in your dashboard. Choose macOS (Apple silicon · .dmg).
2
Open the disk image
Double-click the downloaded .dmg. A window opens with the Voyager icon and a shortcut to your Applications folder.
Drag the Voyager icon onto the Applications folder.
3
Drag Voyager to Applications
Drag the Voyager icon onto Applications. If an older Voyager is open, quit it first, then choose Replace when asked.
4
Eject the disk image
In Finder’s sidebar, click the eject button next to Voyager. You can delete the .dmg file afterwards.
5
Open Voyager
Open your Applications folder and double-click Voyager. Open it from Applications, not from the disk image.The first time, macOS asks whether you want to open an app downloaded from the internet. Voyager is signed and notarized by Apple, so this is expected. Click Open.
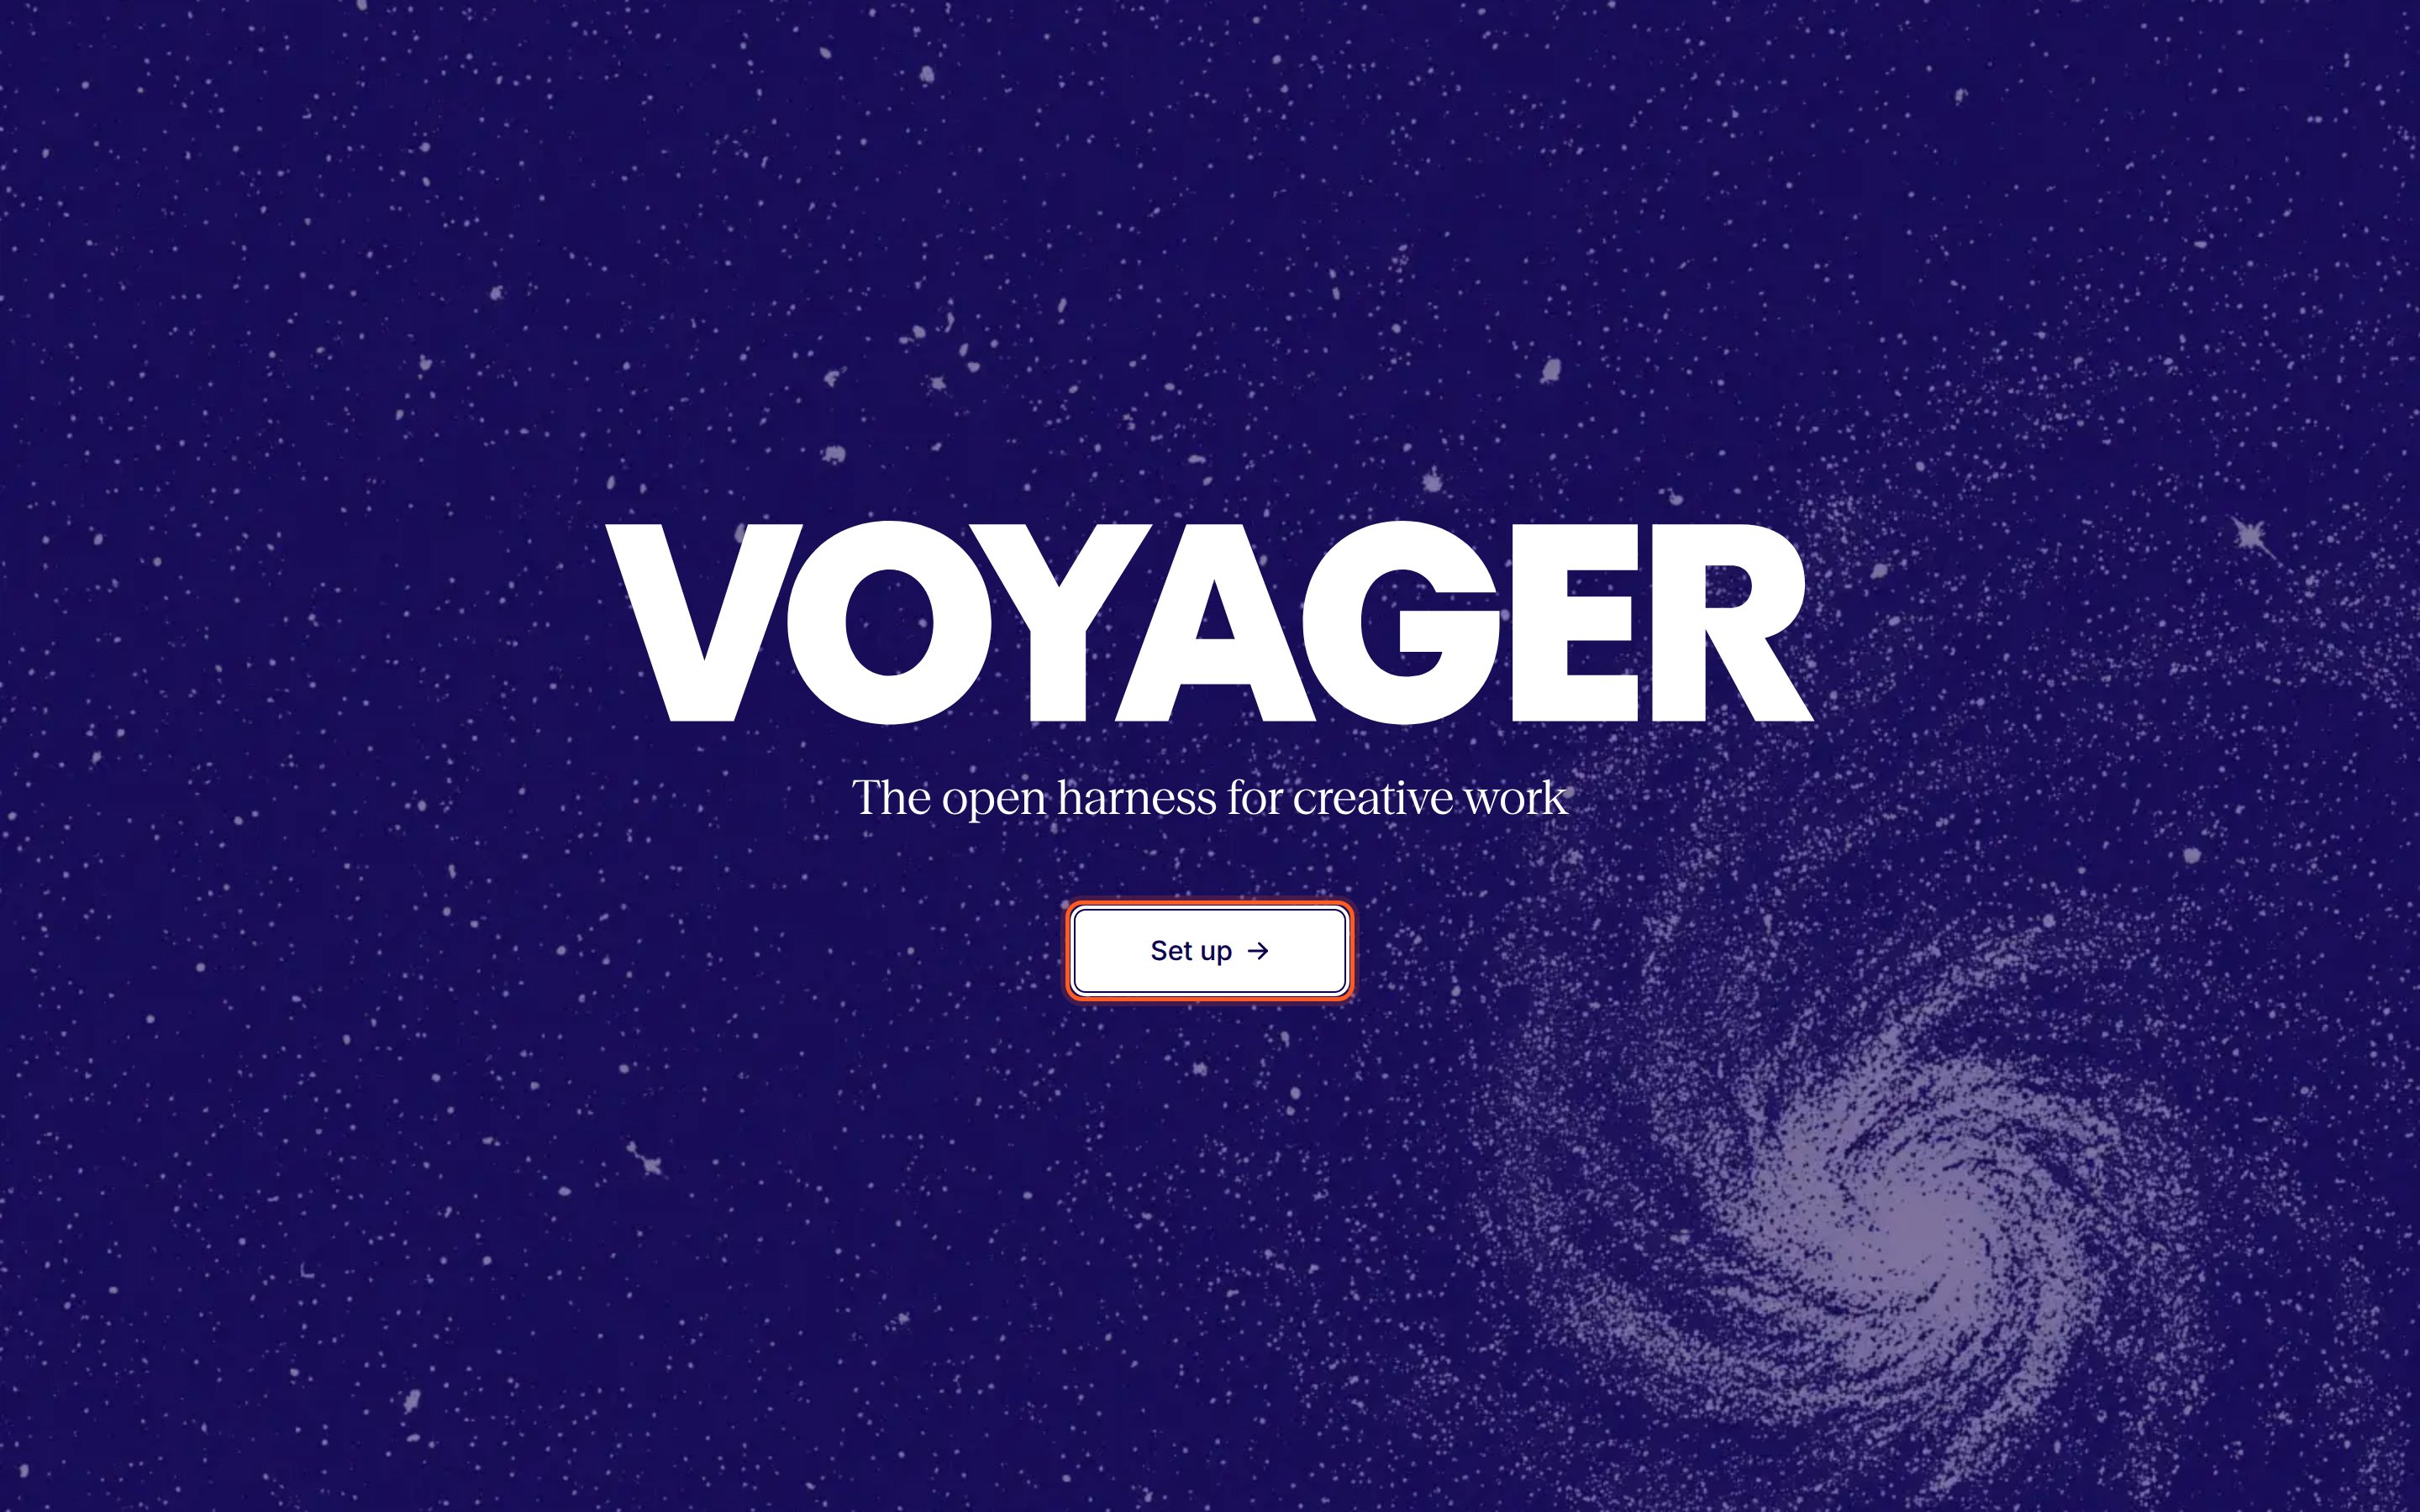
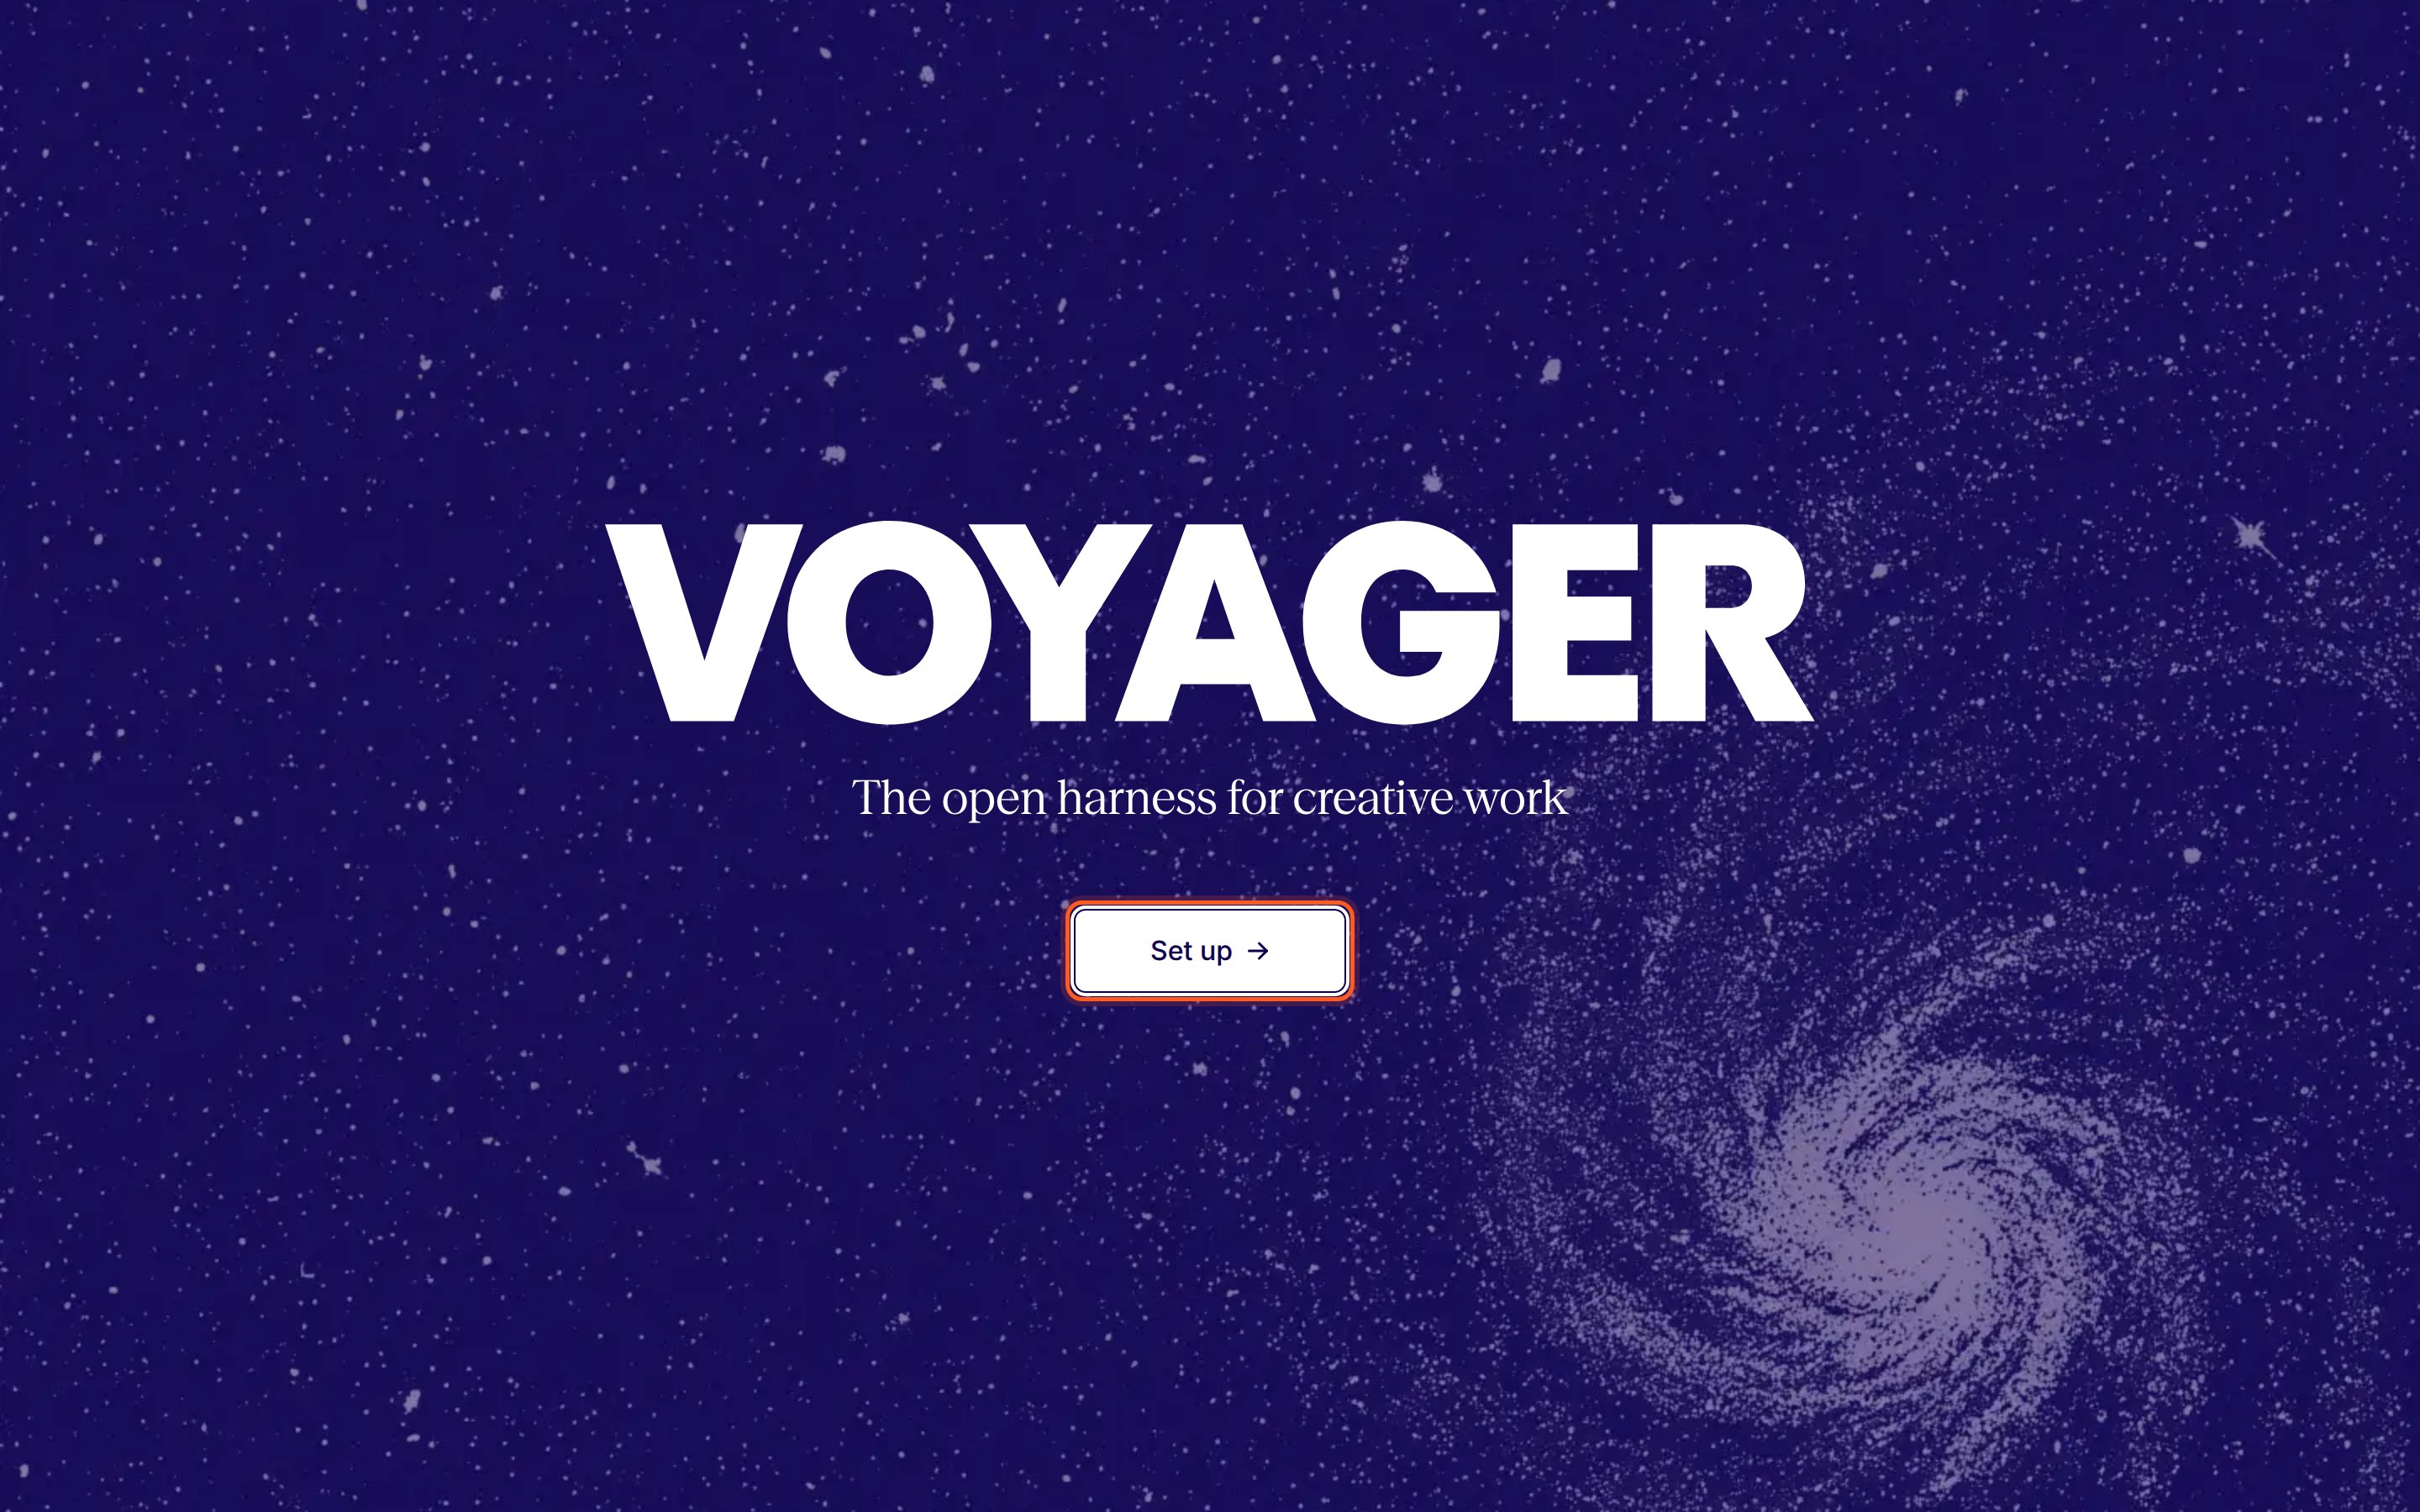
Voyager opens on its welcome screen with a Set up button. Clicking it starts setup, beginning with signing in to your Voyager account in your browser.
The welcome screen. Set up starts sign-in.
Voyager updates itself. New versions download in the background, and install when you restart Voyager or the next time you quit and reopen it. See Updates.
macOS says Voyager can't be opened on this version
Voyager needs macOS 15 or later. Update macOS in System Settings → General → Software Update, then open Voyager again.
macOS says Voyager is damaged or can't be verified
The download was probably interrupted or changed. Move Voyager from Applications to the Trash, download the installer again, and repeat the steps. Don’t turn off macOS security checks to get around this. If it happens again, contact support with the exact message and the file name you downloaded.
macOS asks for your password to let Voyager use the Keychain
Voyager saves your sign-ins in your macOS Keychain. Check that the request names Voyager, enter your Mac login password and choose Always Allow, so it doesn’t ask again.
"Voyager could not start its local server."
Click Try Again first. If the message says your disk is full, free up some space, then try again. If it offers Repair and Start, click it: Voyager sets the damaged data aside and keeps everything it can read. If none of that works, get help.