

Before you start
- A brand kit holds a brand’s colors, fonts and logos. Kits are saved to your Voyager account, not to your computer.
- You don’t need one. Click Skip for now to finish setup without a brand.
- To make a kit, you only need your website’s address. Voyager reads your brand from it.
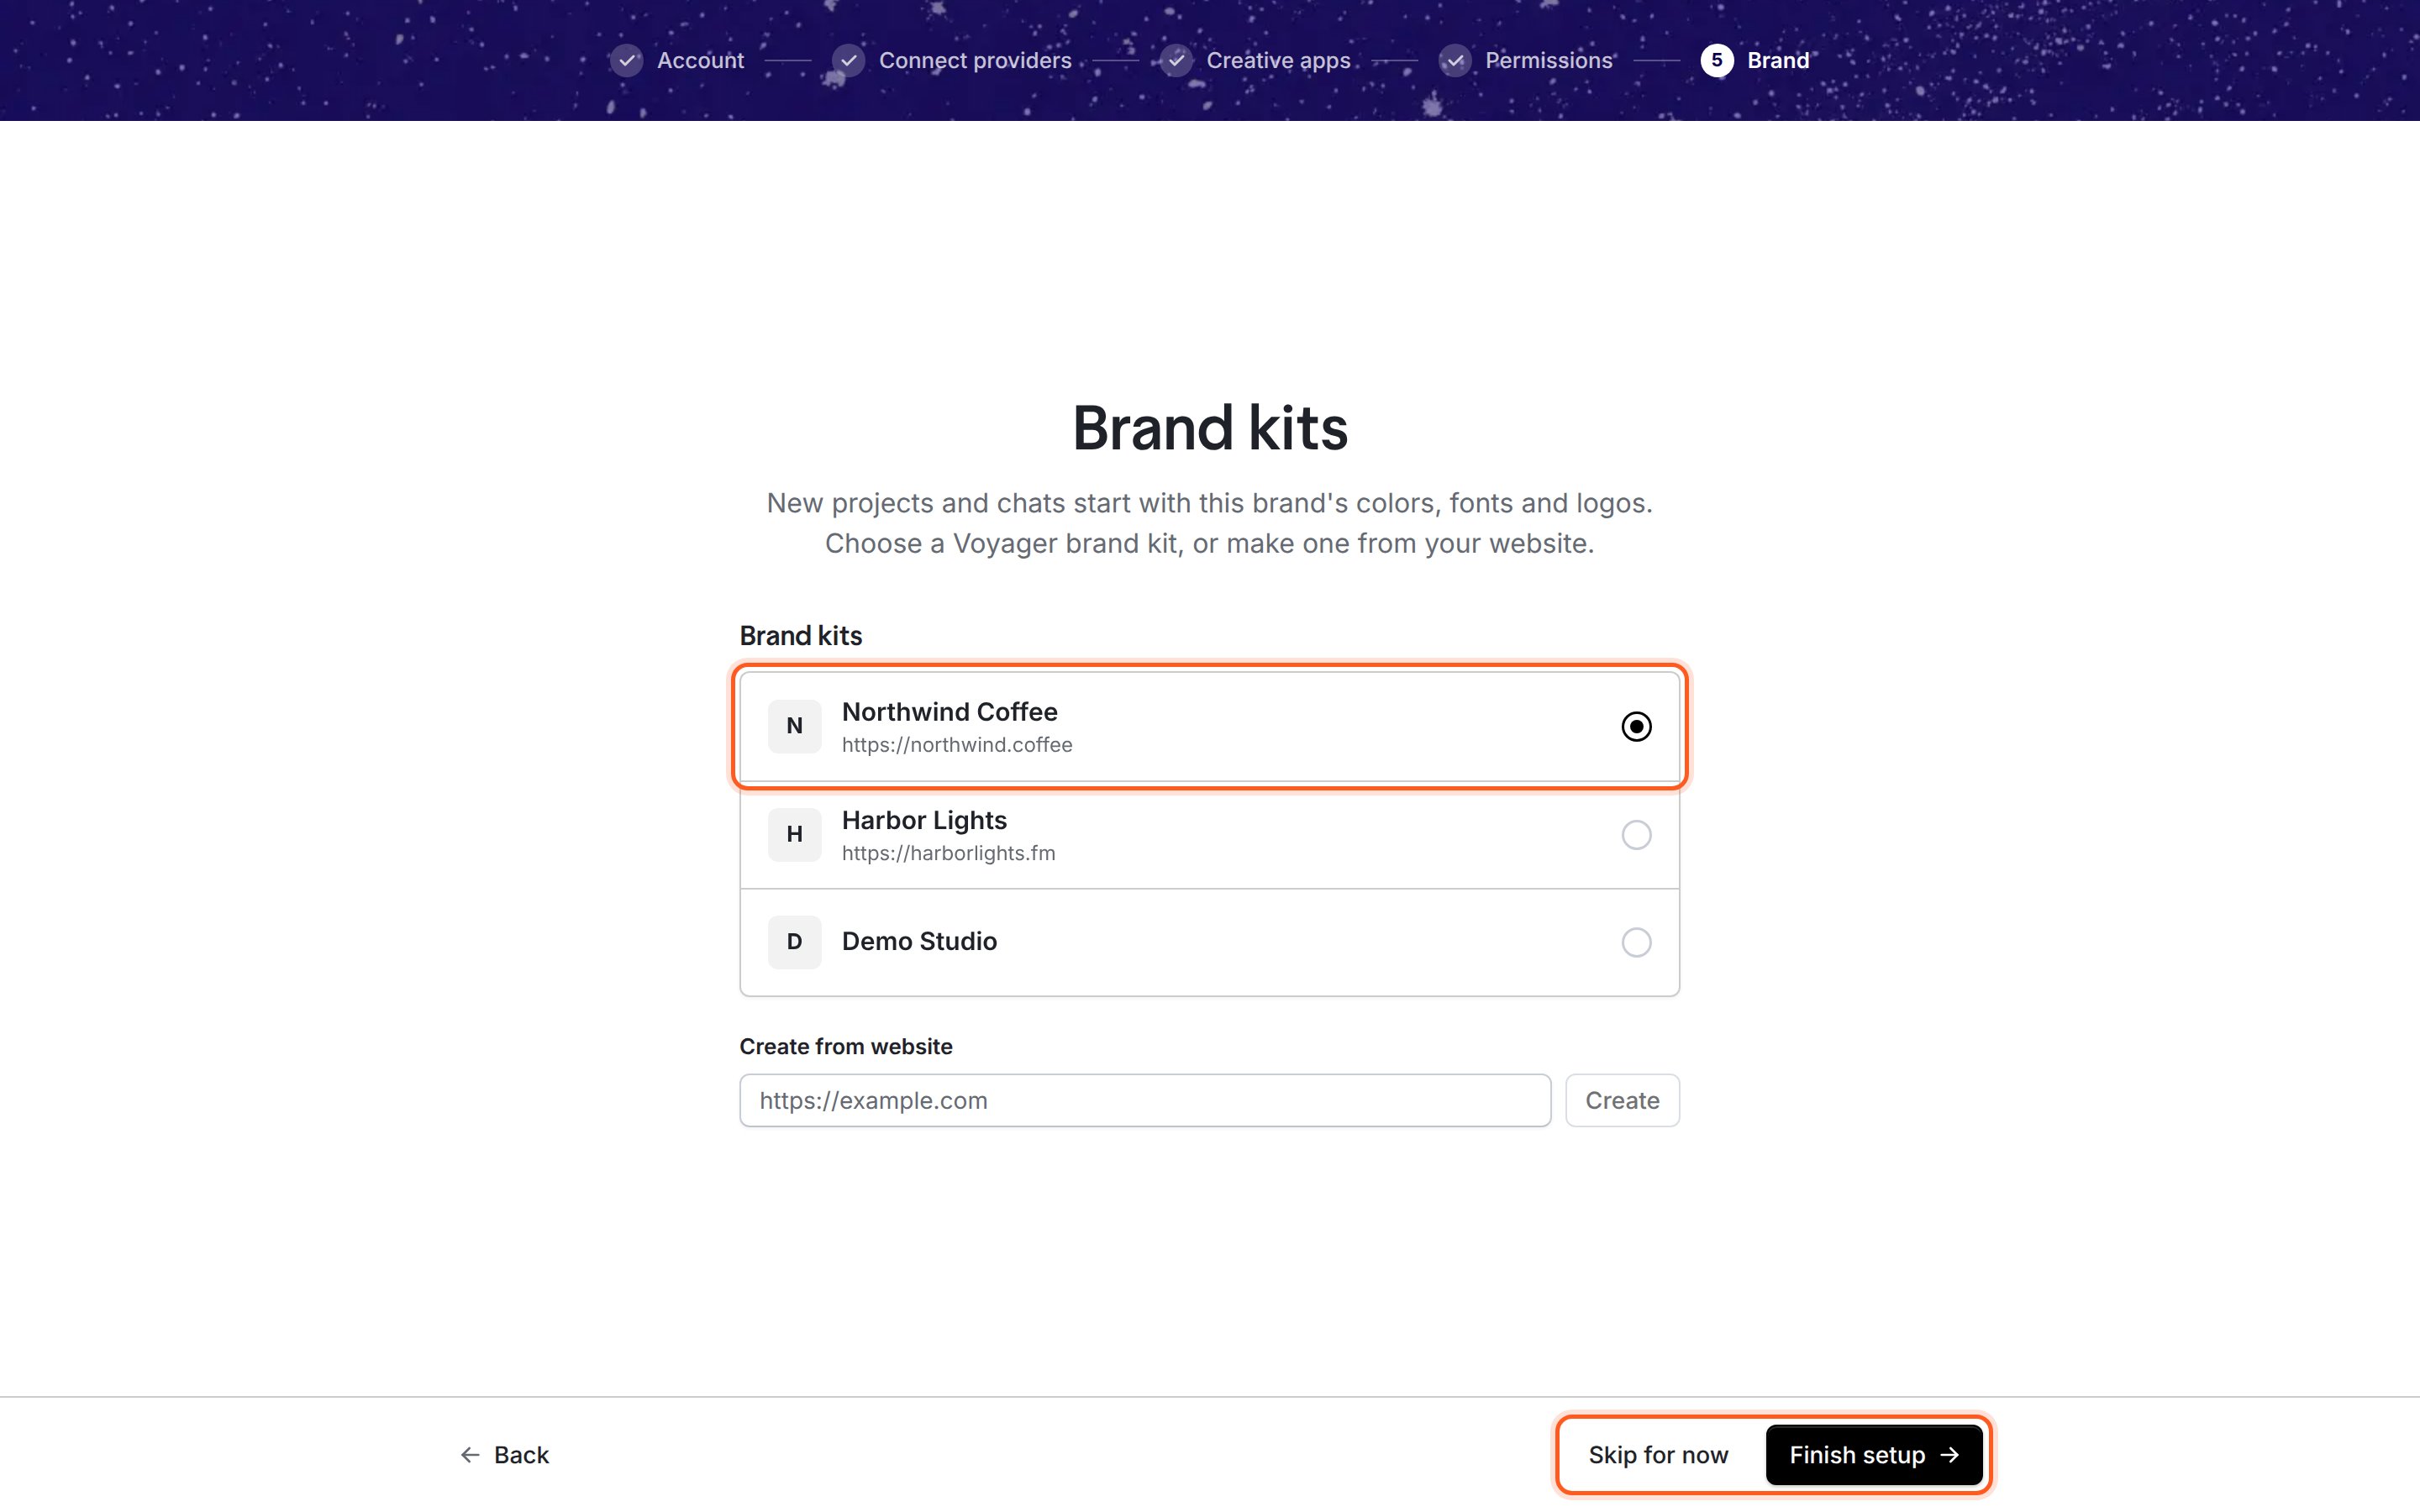
The Brand step with no kits yet. Make one from your website, or skip.
Choose or make a brand kit
1
Pick a kit from the list
The Brand kits list shows the kits in your workspace, each with its website underneath. Your workspace’s default kit is already selected. Click another to choose it instead.If the list says No brand kits yet. Make one from your website below., go to the next step.
2
Or make one from your website
Under Create from website, type your site’s address, for example
https://yourcompany.com, and click Create. The button reads Creating… while Voyager reads your site.The new kit appears at the top of the list, already selected.3
Click Finish setup
Click Finish setup. Voyager saves the kit as your default, then makes your first project, named after the kit, and opens it. The button reads Saving…, then Opening project….The project gets its own folder inside the Voyager folder in your home folder.
Skip for now
Click Skip for now to finish setup without choosing a brand. Voyager opens a new, empty chat, ready for your first request. Nothing is saved, so you can pick a brand any time later.Change your brand later
Go to Settings → Creative preferences, and choose a kit under Default brand kit in the Brand section. Each new project’s folder, or new chat’s, starts with that kit’s colors, fonts and logos in abrand folder. Folders you already have are left alone.
Check it worked
- Finish setup: Voyager opens a project named after your brand kit.
- Skip for now: Voyager opens a new chat with an empty message box.
- Either way, setup is done and won’t appear again.
If something went wrong
Creating a kit from my website failed
Creating a kit from my website failed
Voyager shows the reason in red under the field. If it says Voyager could not be reached. Check your connection and try again., check your internet connection and click Create again. Otherwise, check the address opens in your browser and starts with
https://. If it still fails, click Skip for now and choose a kit later in Settings → Creative preferences.“Could not create the … project”
“Could not create the … project”
Your brand kit was still saved as the default. Setup is finished; create a project from the sidebar, and it starts with your brand.
My kits don't appear, or I see a sign-in error
My kits don't appear, or I see a sign-in error
Voyager loads kits from your workspace, so it needs your Voyager sign-in. Check you chose the right workspace on the Account step. You can also skip for now and choose a kit later in Settings → Creative preferences.
Next: Make your first video
Setup is done. Ask the agent for your first video.