

Before you start
- A Voyager account. Setup opens a sign-in page in your browser, where you can sign in or create a free account. You don’t need to pay to create one.
-
An agent to chat with. You need at least one of these:
- Claude, with a Claude plan that includes Claude Code or an Anthropic API key, or
- ChatGPT, with a ChatGPT plan that includes Codex or an OpenAI API key, or
- a Voyager plan, which includes chat with Voyager models.
- Voyager installed. If you haven’t installed it yet, start with Install on macOS, Windows or Linux.
The five steps
A bar across the top of the setup window shows where you are: Account, Connect providers, Creative apps, Permissions and Brand. You can click a step you’ve already finished to go back to it. Steps you haven’t reached yet stay locked until you finish the one you’re on.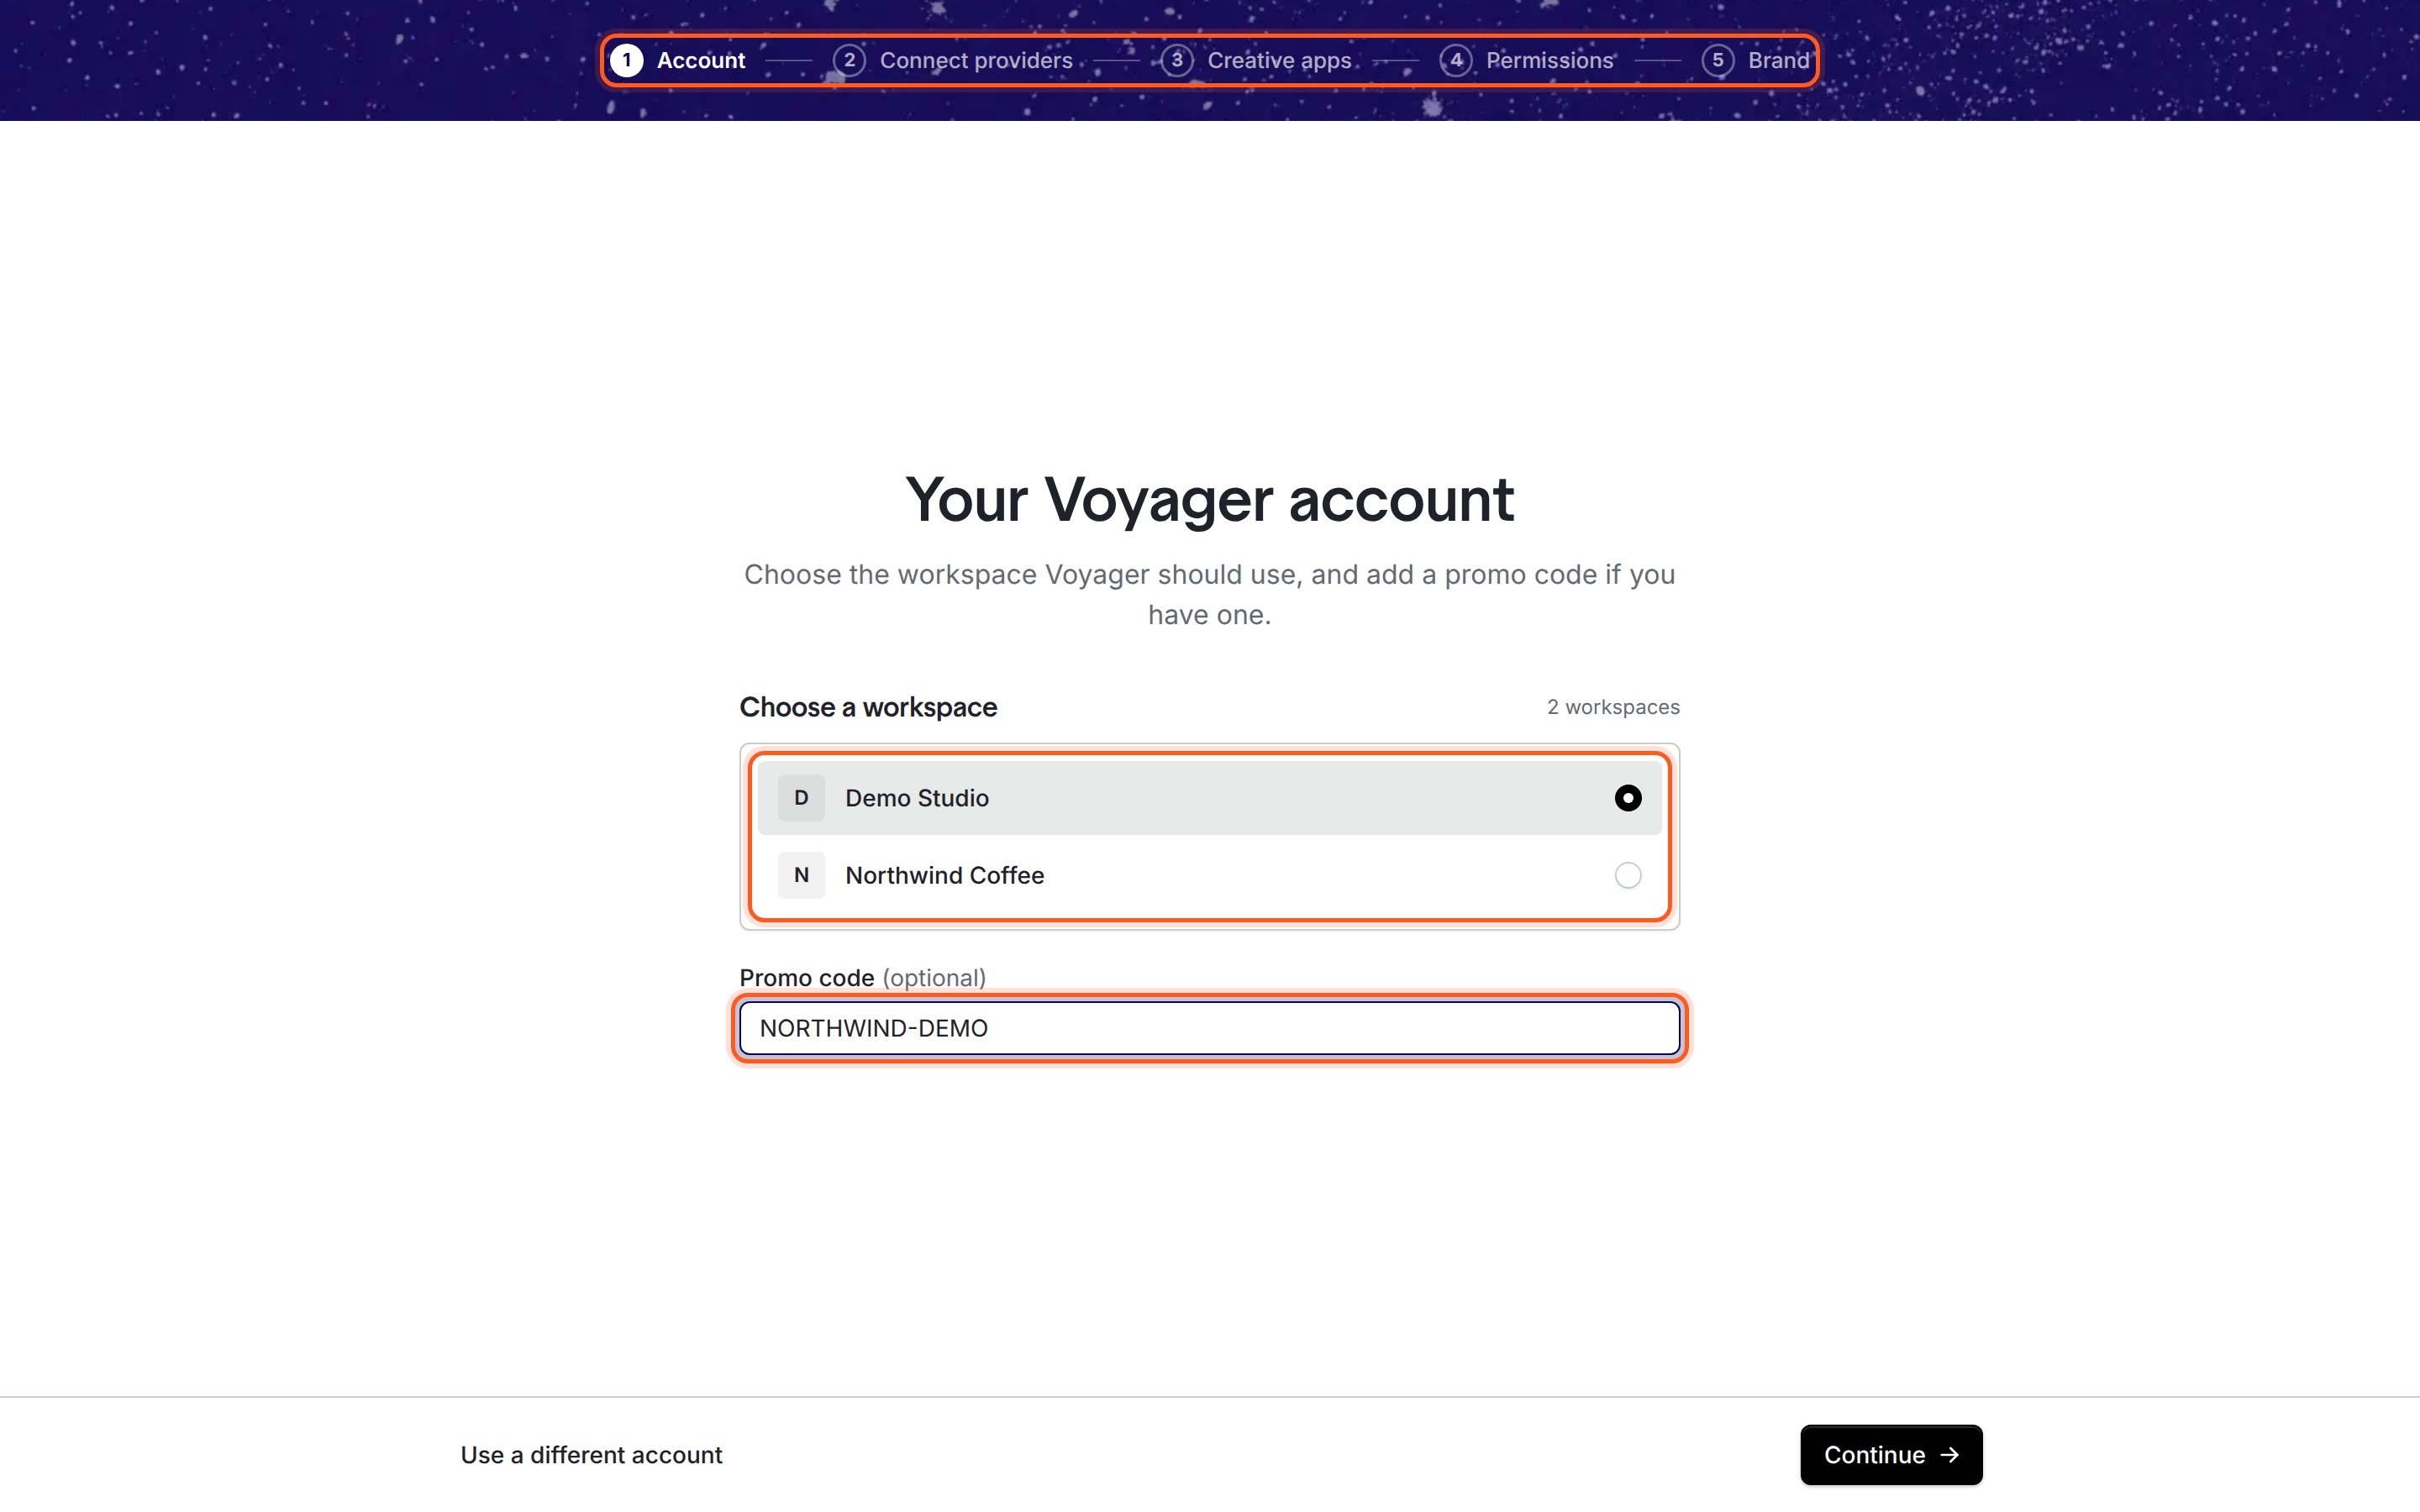
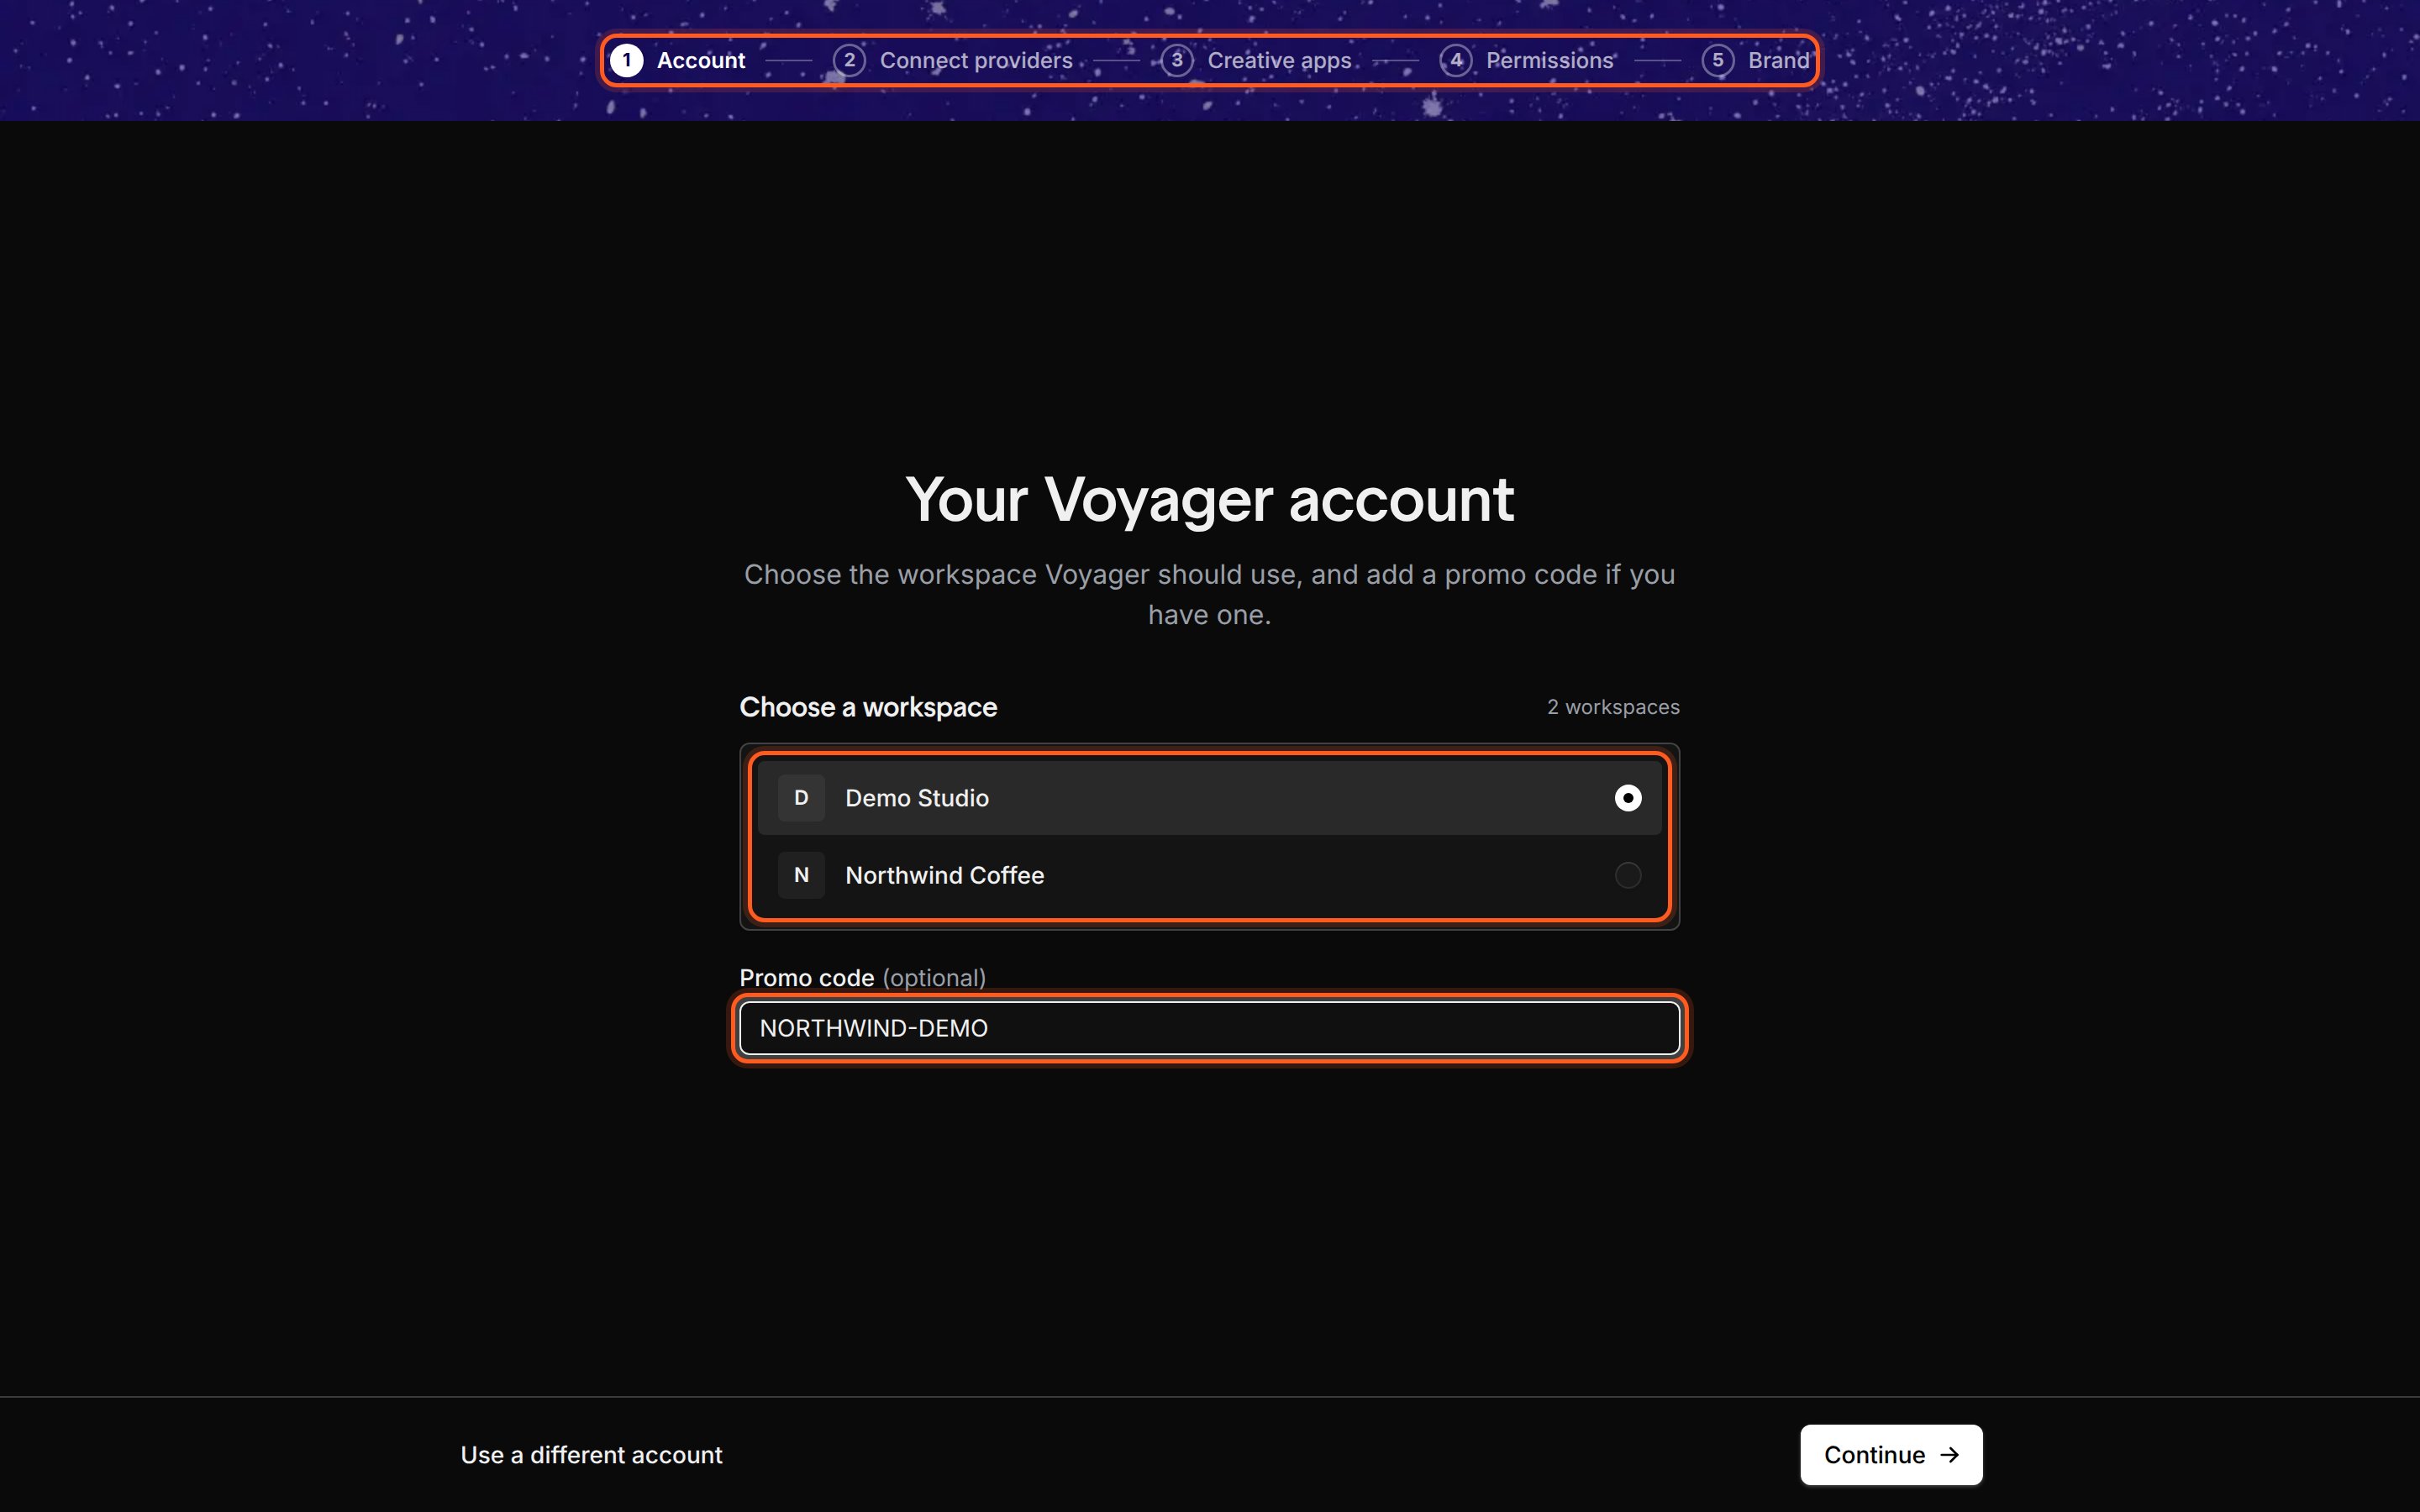
The setup bar. Finished steps show a check and stay clickable.
What you’ll pay for
Setup itself is free. What you pay depends on how you choose to work:- Chat with your own Claude or ChatGPT costs nothing extra from Voyager. A subscription’s usage counts against its own limits; an API key is billed per use by the provider.
- Chat with Voyager models uses your Voyager plan’s credits.
- Images, video and audio are billed by whichever service makes them: your own provider account (when you add your own key or sign in), or your Voyager plan’s credits.
Setup counts as done after step 2
Once you click Continue on Connect providers, Voyager saves your setup as complete. The last three steps are optional.
Open Settings with ⌘ , (Ctrl ,) or from Settings at the bottom of the sidebar.
Platform differences
Setup is the same on macOS, Windows and Linux, with two exceptions:- Screen access on the Permissions step appears only on a Mac.
- Windows (alpha): if Windows Smart App Control is on, the first screen shows a notice, because it can block sign-in and other parts of Voyager. Read Windows Smart App Control before you continue.
If something went wrong
Voyager shows “Still connecting” instead of setup
Voyager shows “Still connecting” instead of setup
Voyager’s local service is slow to start. Click Reload. If you see Could not read settings, click Retry. If it keeps happening, see Setup problems.
I don't have Claude, ChatGPT or a Voyager plan
I don't have Claude, ChatGPT or a Voyager plan
You can sign in and reach the Connect providers step, but Continue stays off until one agent is ready. Connect Claude or ChatGPT, or get a Voyager plan from pricing. See Voyager models and media.
I quit before finishing the optional steps
I quit before finishing the optional steps
That’s fine. Use the table above to set up creative apps, permissions or your brand from Settings.
Next: Sign in to Voyager
Start setup and sign in or create your Voyager account.