Turn existing clips and recordings into a finished edit with trims, captions, reframing and review.
Give Voyager your clips and an editing brief to make highlights, remove pauses, add captions or create a shorter cut for another format.You need a connected chat account and footage available on your computer. Voyager can make local edits without a separate video editor. If you want to use Resolve, Premiere Pro or another supported app, set it up and name it in your request. Available integrations differ by platform.Local editing with existing assets does not require media credits. Chat usage still applies. Generated voice, music, replacement footage or hosted transcription may cost money; ask for local processing if that is a requirement.
Create or open a project for the edit. Keep a copy of the original footage and place the working clips in the project folder.For a small clip, use Add attachment → Attach files. For larger footage, use the project folder and reference the files with @, or right-click a file in Files and choose Add to chat. Attachment limits explain when to use the folder route.
2
Say what to keep and what to change
Name the source files, target length, audience and shape. Include the important quotes or moments and any material to leave out.
Turn interview.mp4 into a 30-second vertical highlight.Use the section where Maya explains why she started the project.Remove long pauses, but keep her meaning and natural delivery.Keep her face in the frame. Add readable captions and use heroriginal voice. Use local transcription if a transcript is needed.Do not generate new video, music or speech, or use paid services.Show me a rough cut. Keep the source unchanged and save the editas a new file.
You can choose Edit existing footage under Making:, then a kind such as Highlights or Shorts and vertical.
3
Review the rough cut
Watch the whole cut before focusing on individual frames. Check that it preserves the speaker’s meaning, starts at a useful point and ends cleanly.Check captions against the audio. For a vertical crop, watch moving subjects through the whole shot rather than checking only the first frame.
4
Send precise changes
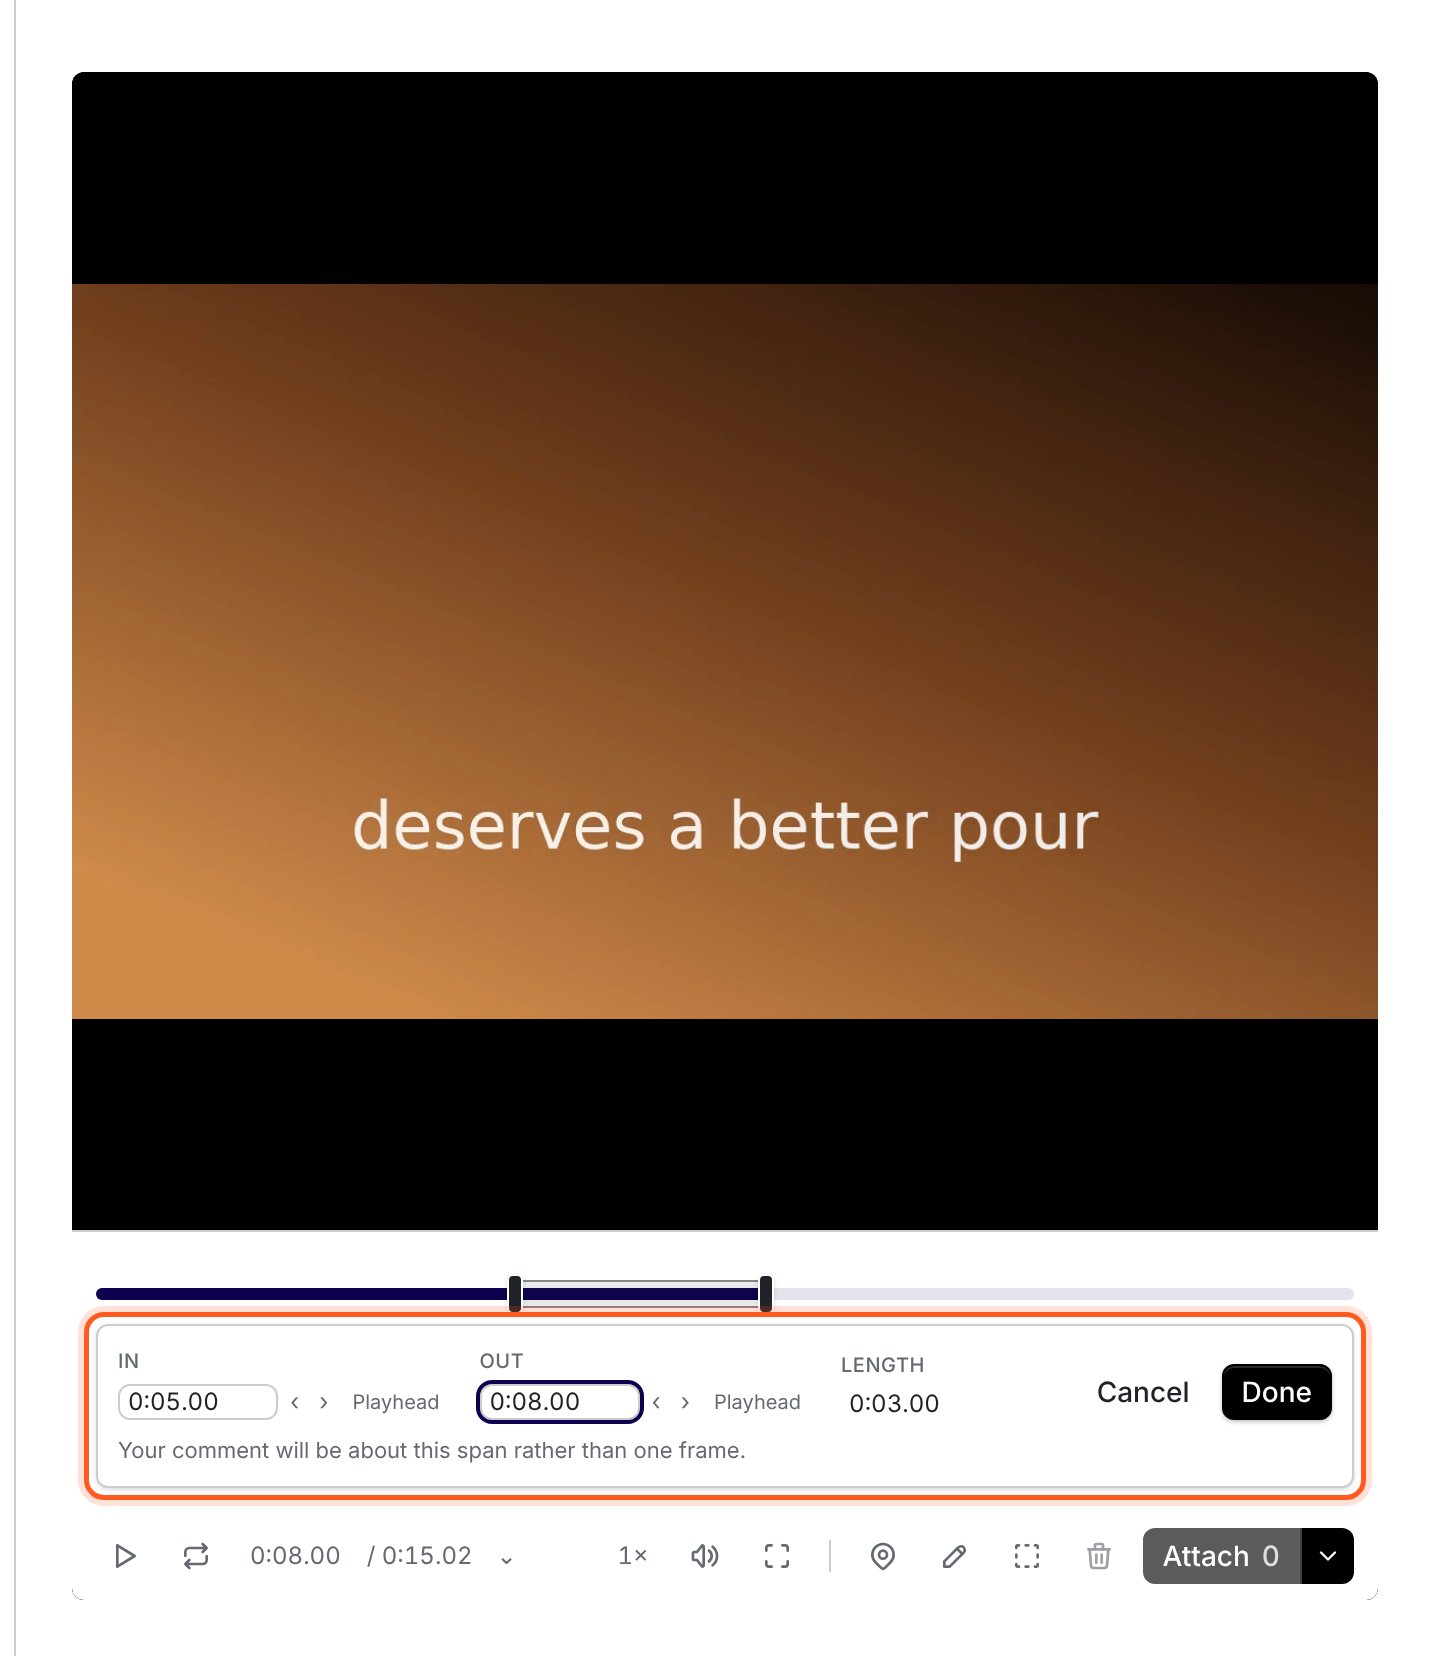
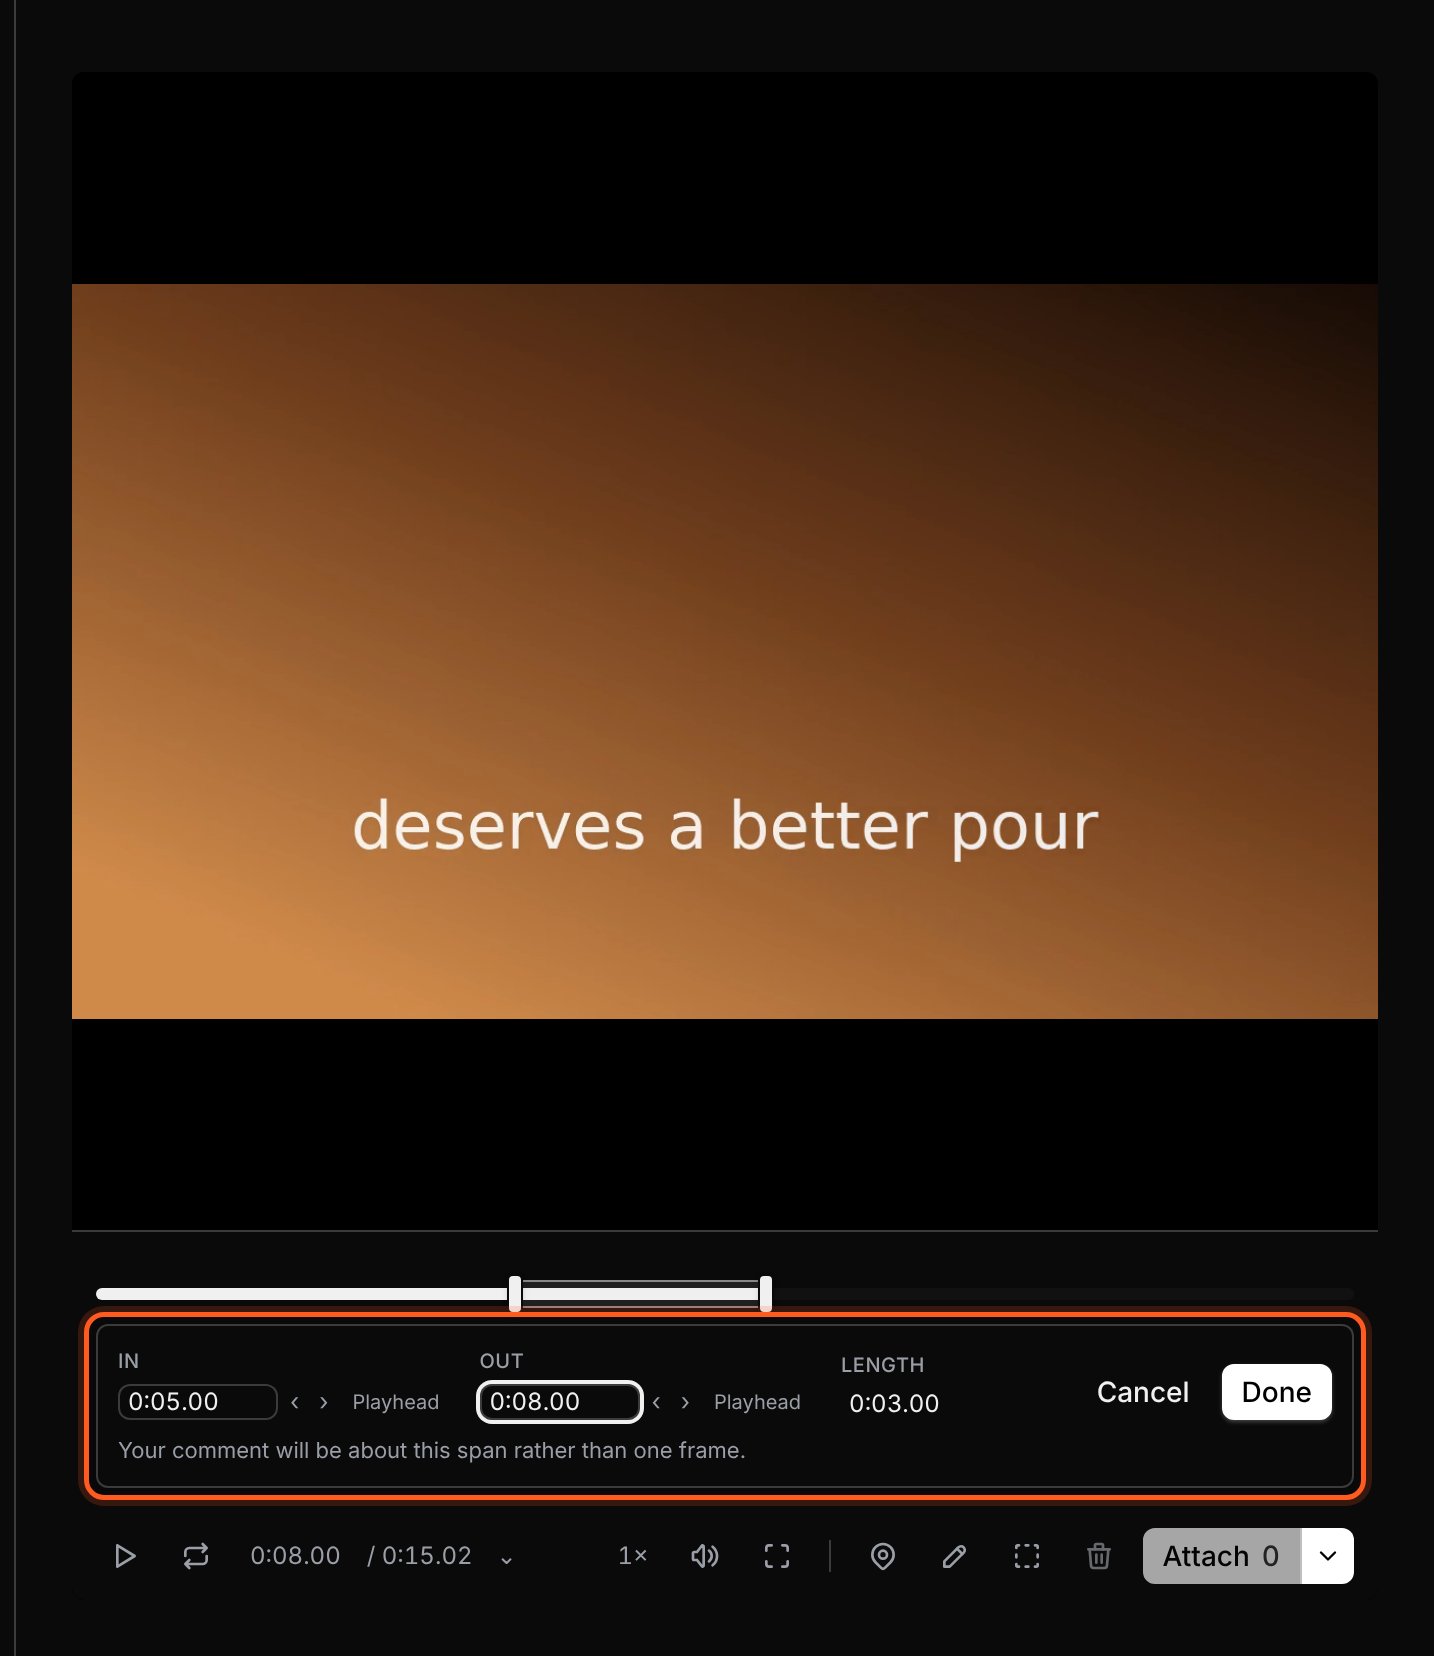
Open Review on the result. Use a time-range note for a cut or pacing change, and a pin or box for captions and framing.
Keep the opening. At 8–12 seconds, shorten the pause withoutcutting off her breath. Move the captions above the bottom edge.Keep the rest unchanged and save another version.
A time-range comment makes it clear which part of the edit needs attention.
5
Request the final delivery
Ask for the finished format and any other files you need. For example: “Deliver the MP4, the caption file and the editing source.” The source format depends on the editing workflow.Play the final file, then use Save video or the reveal action to find it on disk.
Name the files or folder to search and ask for the moment you need: “Find where Maya talks about the first prototype,” or “Find a wide shot of the room in these event clips.”Settings → Integrations → Local media search offers Speech search and Visual search. If setup is needed, use Set up speech search or Set up visual search and let the download finish. Search analyzes selected footage locally and does not use media credits.Search availability depends on your computer. Local media search’s speech and visual analysis are unavailable on Windows alpha; check the platform table before relying on this workflow. You can still supply the timestamps or a transcript yourself for an edit.Review the suggested matches. Speech search looks for words and phrases; visual search finds similar-looking shots. A matching image does not prove that the action you wanted happens throughout the clip.
Tell Voyager the editor and project you want to continue. Existing Resolve and Premiere projects stay in their native workflows. Name the intended timeline or sequence and the result you want.
Save your current work before asking the agent to change an existing editor project. Ask it to create a new version when you need to preserve the current edit. Generating replacement media or speech can also cost money; review the estimate before approving it.
For simple trims and cutdowns, you can ask Voyager to use its local editing tools. For designed or animated captions, ask for motion graphics as part of the edit.
Play the delivered file from beginning to end with sound. Check lip sync, cut boundaries, caption spelling and timing, the crop, and the final frame. Confirm that the original footage remains available before sharing the result.
Put it in the project folder and reference it from Files or with @. You do not need to squeeze a full recording into the attachment limit.
Voyager cannot find the moment I mean
Give the source filename, approximate time, a phrase the speaker uses, or an existing transcript. If local media search asks for setup, finish that setup before searching again.
The crop cuts off the subject or captions
Attach a review note over the affected time range and say what must remain visible. Ask for reframing through the shot, or a different caption position, rather than only a new overall crop.
My editor is installed but Voyager cannot use it
Check creative app setup and the platform requirements. Installation alone may not complete the app’s connection or permissions. If you only need a simple cut, ask the agent whether it can use local editing instead.
Review and revise
Send comments tied to the right version and time range.
Files and previews
Keep source clips, drafts and delivered work easy to find.