> ## Documentation Index
> Fetch the complete documentation index at: https://docs.voyager.so/llms.txt
> Use this file to discover all available pages before exploring further.
# Update Voyager
> Download and install Voyager updates, choose an update track, and recover from update problems.
Voyager downloads updates in the background by default and lets you choose when to restart.
## Install an update
1. Open **Settings → General → About** to see your current version and update status.
2. Choose **Check for Updates**. If automatic downloads are off, choose **Download** when an update is available. The notification calls this **Download update**.
3. Keep working while the download completes.
Restarting can interrupt active work. Finish your recording or local render and save any unsent message before continuing.
4. When you see **Update ready to install**, choose **Restart Voyager**. You can also quit normally and use the update on the next launch.
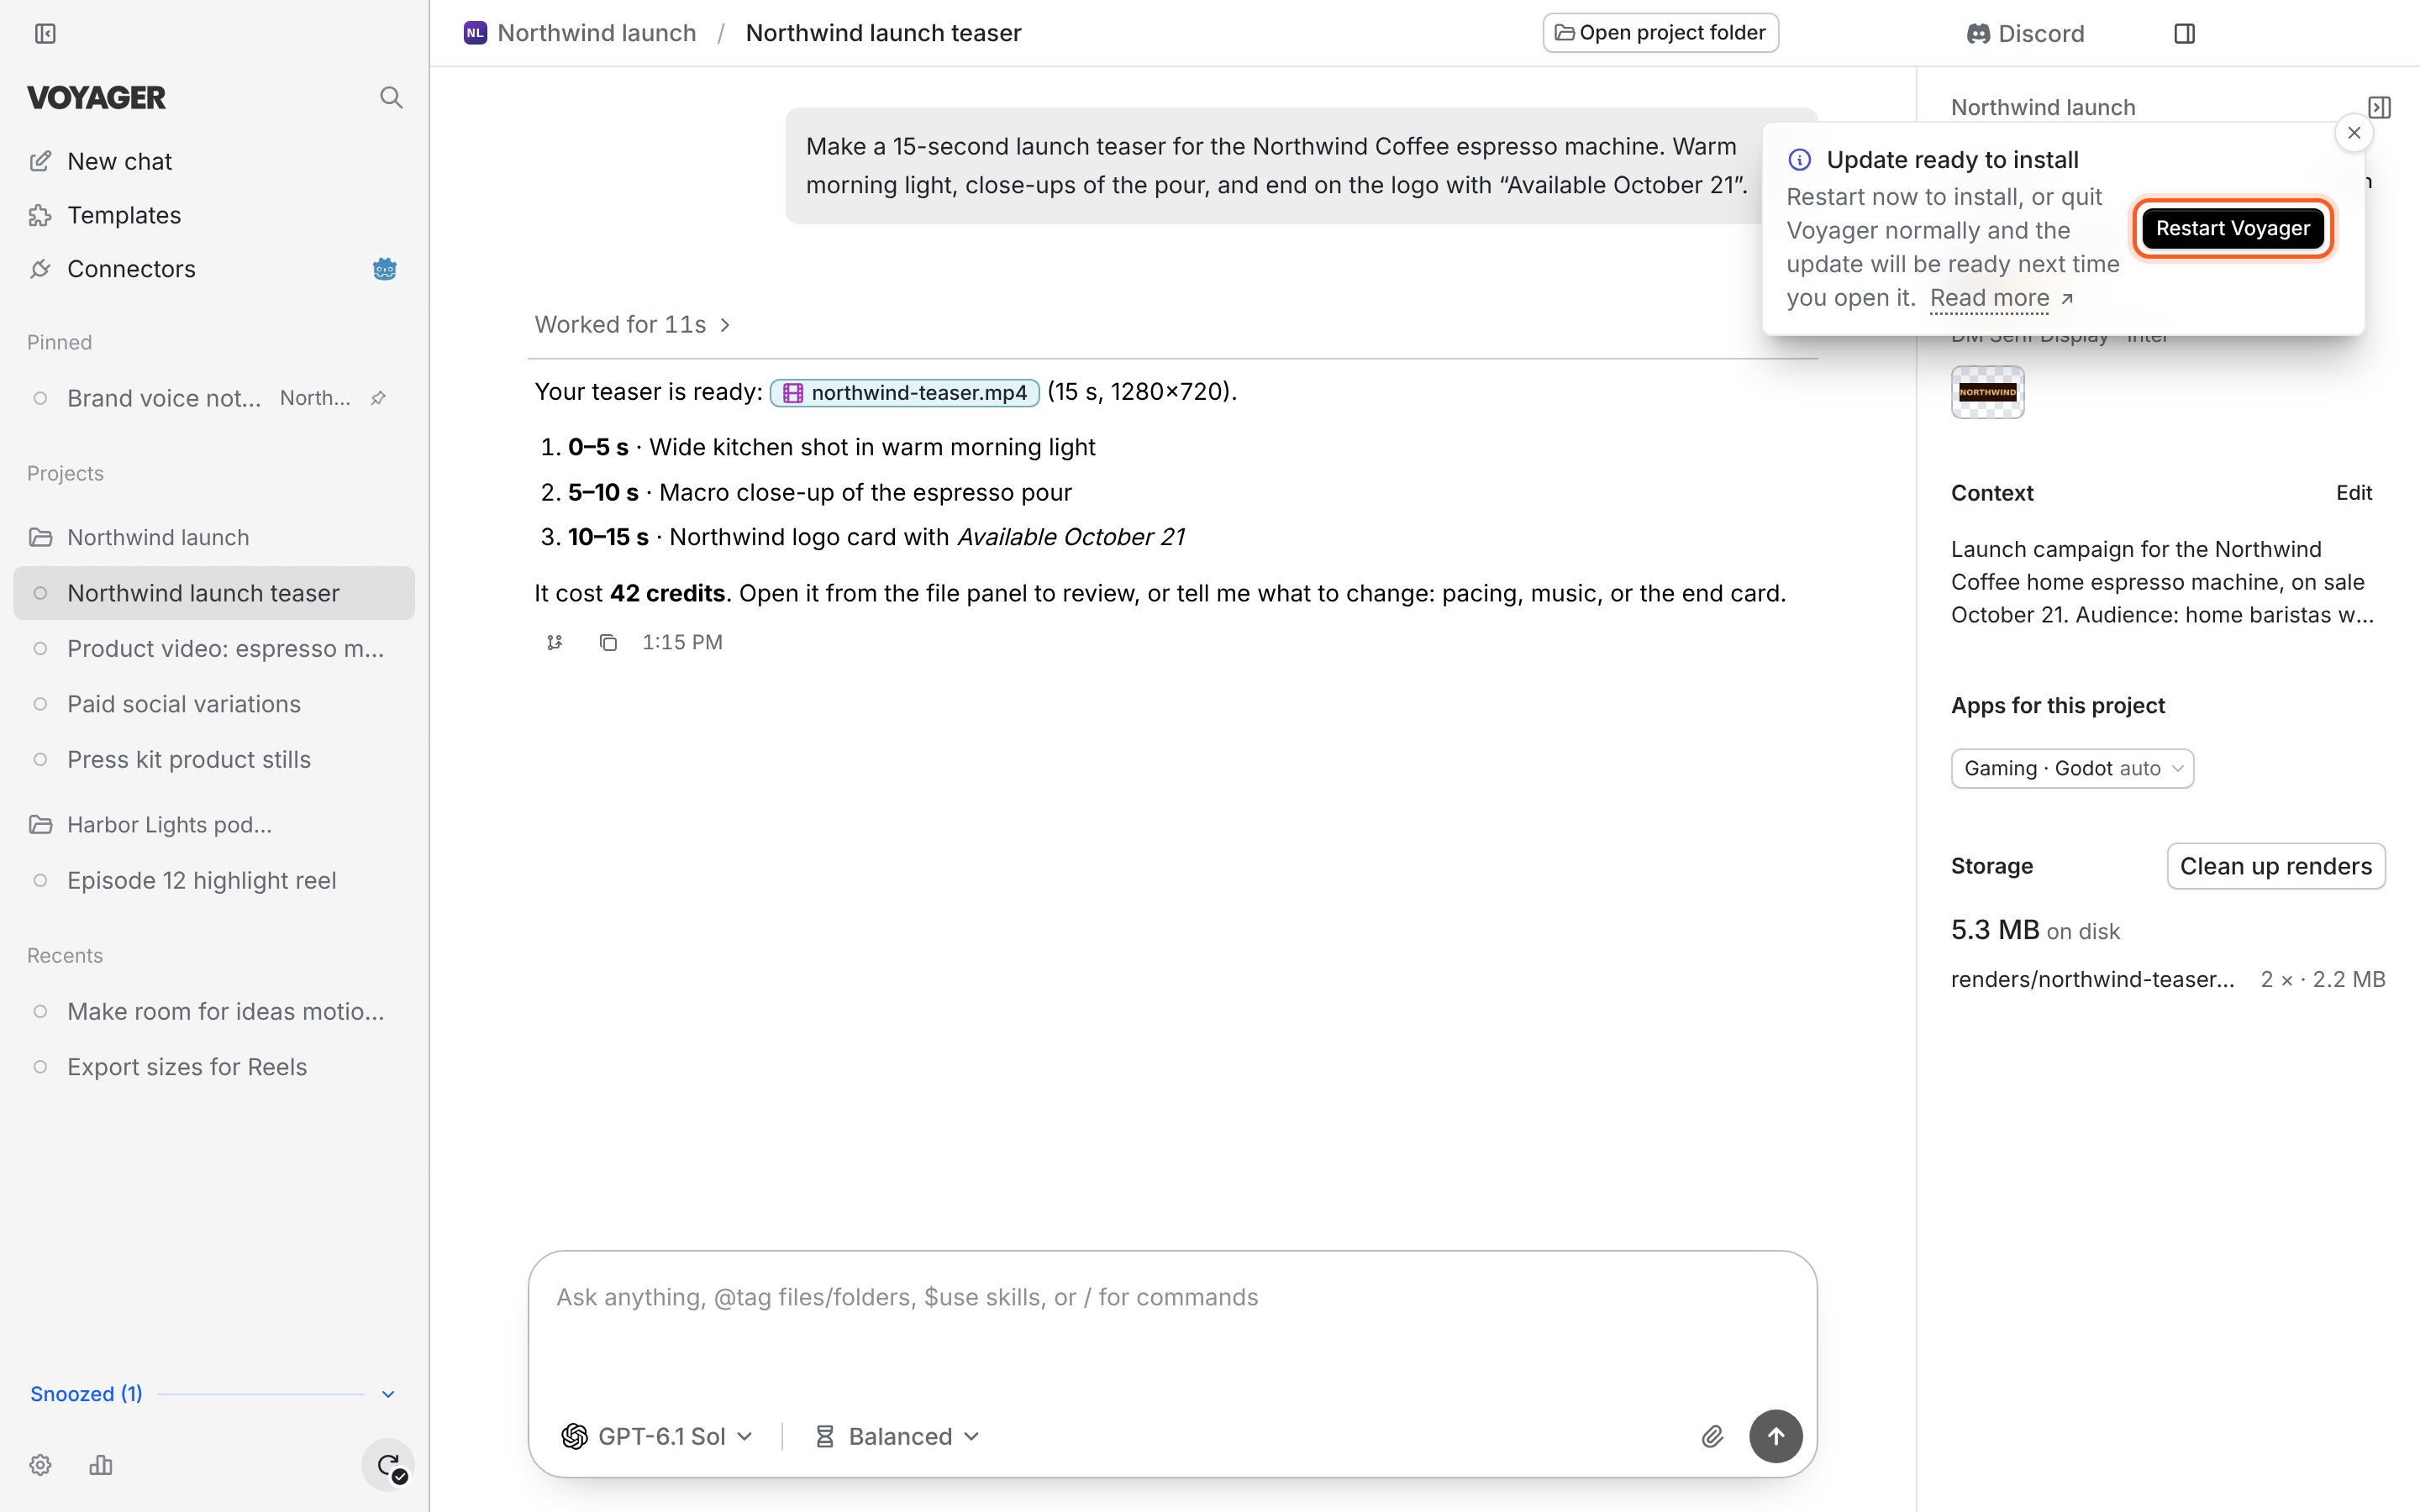
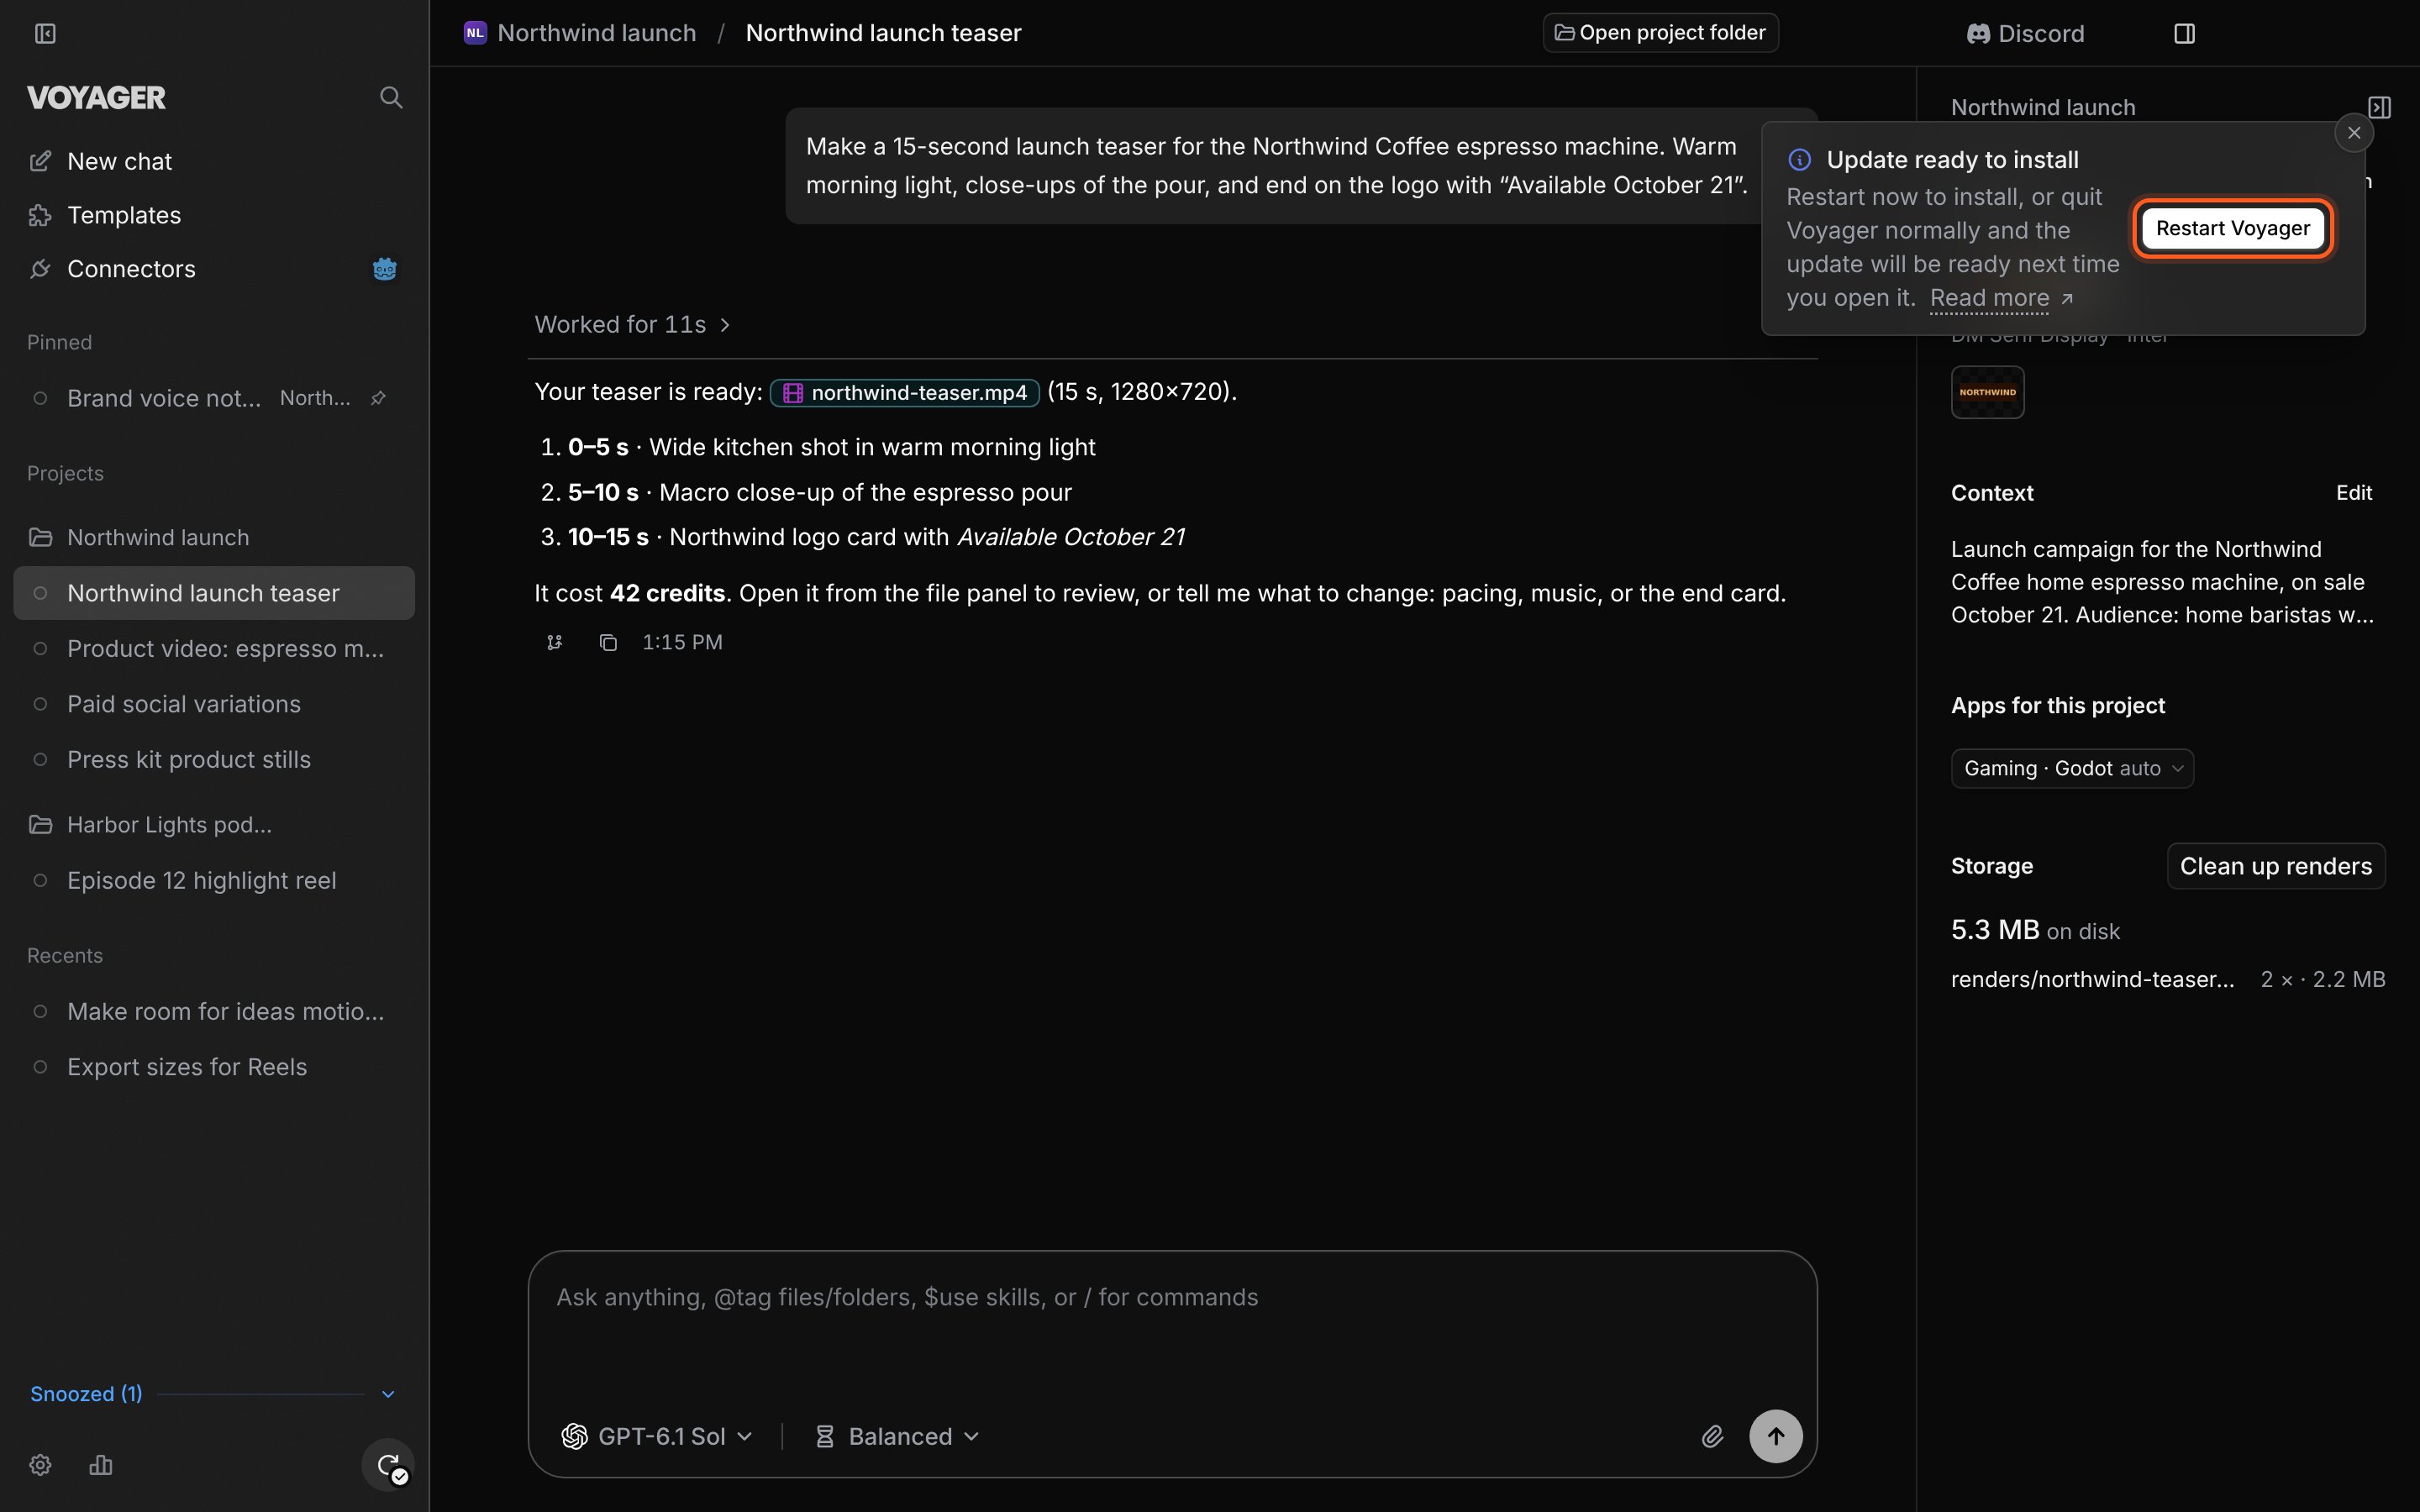 **Check:** Return to **Settings → General → About** after reopening. The version should match the update you installed.
You can also check through **Voyager → Check for Updates...** on macOS or **Help → Check for Updates...** on Windows and Linux.
## Choose when to download
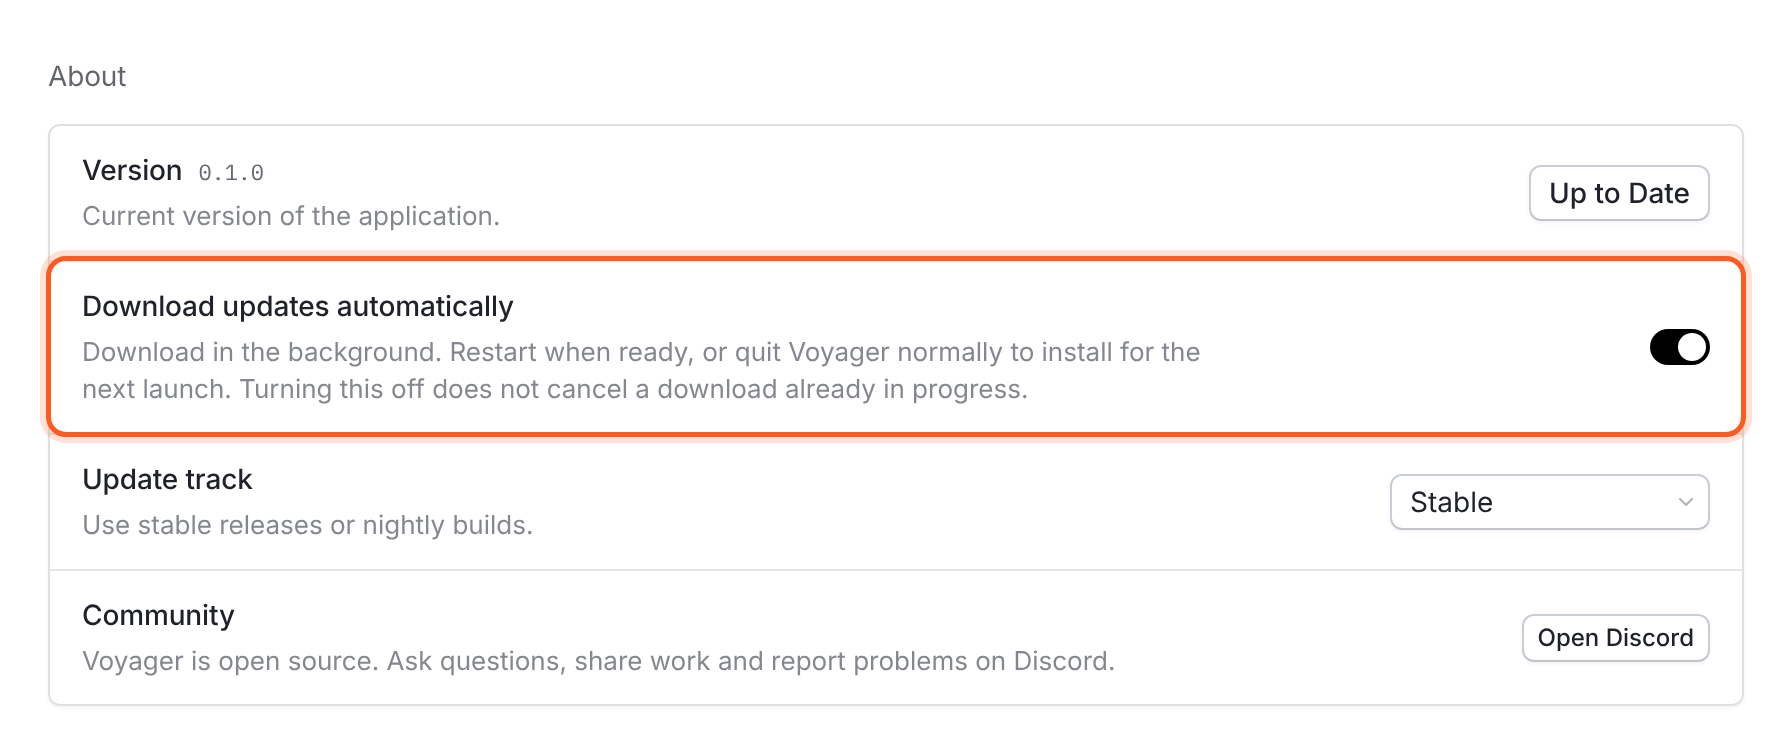
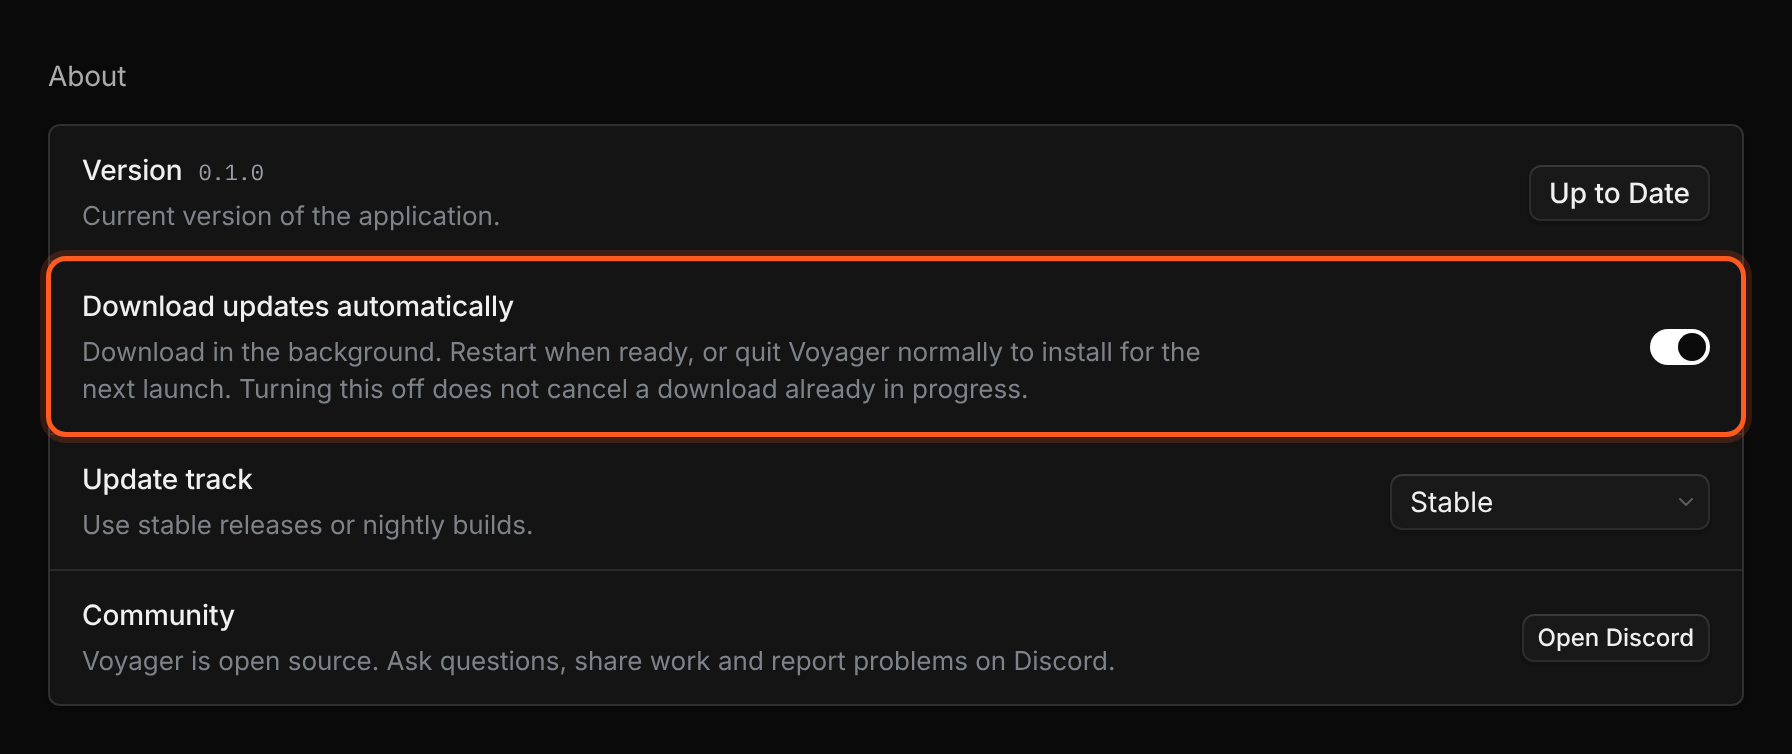
Turn **Download updates automatically** on or off in **Settings → General → About**. Turning it off does not cancel a download already in progress. Downloading an update does not restart Voyager while you work.
The same section has **Update track**, with **Stable** and **Nightly**. Stable is the default. Choose Nightly only if you want to try nightly builds. If an update is already downloaded, install it before changing tracks.
**Check:** Return to **Settings → General → About** after reopening. The version should match the update you installed.
You can also check through **Voyager → Check for Updates...** on macOS or **Help → Check for Updates...** on Windows and Linux.
## Choose when to download
Turn **Download updates automatically** on or off in **Settings → General → About**. Turning it off does not cancel a download already in progress. Downloading an update does not restart Voyager while you work.
The same section has **Update track**, with **Stable** and **Nightly**. Stable is the default. Choose Nightly only if you want to try nightly builds. If an update is already downloaded, install it before changing tracks.
 ## Update manually
Sign in at voyager.so and download the installer for your computer from **[Download](https://voyager.so/dashboard/download)** in your dashboard.
1. Finish active work and quit Voyager.
2. Open the new disk image and replace Voyager in **Applications**.
3. Open the copy in **Applications**.
1. Finish active work and quit Voyager.
2. Run the new Windows installer.
3. Open Voyager after installation. If Windows blocks part of the alpha build, follow the [Smart App Control guide](https://voyager.so/help/windows-smart-app-control).
The AppImage supports in-app updates. A `.deb` installation needs a manual update.
1. Finish active work and quit Voyager.
2. Download the new AppImage or `.deb` for your installation.
3. Replace your AppImage and make it executable, or install the new `.deb` using your package manager.
4. Open the new version. See [Install on Linux](/get-started/install-linux) if it will not start.
Replace the application; keep your profile and project folders. See [Data locations](/reference/data-locations) if you want to locate them before updating.
## Update download failed
Voyager could not finish downloading the update.
1. Check your internet connection and available disk space.
2. Choose **Retry download**.
3. If the same failure returns, use the manual download above.
**Check:** The notification reaches **Update ready to install**, or the manually installed version appears in **About**.
**Still stuck:** Send [support](/help/get-help) your current version, offered version, operating system, and exact download error.
## Automatic updates are not available because no update feed is configured.
This installation cannot obtain updates from inside the app.
1. Open [Download Voyager](https://voyager.so/dashboard/download).
2. Install the latest build for your platform using the manual steps above.
**Check:** The new version appears in **About**. Linux `.deb` installations continue to need manual updates.
**Still stuck:** Send support your version and which installer you used.
## Automatic updates on Linux require running the AppImage build.
In-app Linux updates apply to the AppImage.
1. If you use `.deb`, install the latest `.deb` manually.
2. If you use AppImage, quit Voyager and open the downloaded AppImage itself.
**Check:** Your version updates, or the AppImage's update controls become available.
**Still stuck:** Include the installer filename and update message in your support request.
This documentation is built and hosted on [Mintlify](https://mintlify.com), a developer documentation platform.
## Update manually
Sign in at voyager.so and download the installer for your computer from **[Download](https://voyager.so/dashboard/download)** in your dashboard.
1. Finish active work and quit Voyager.
2. Open the new disk image and replace Voyager in **Applications**.
3. Open the copy in **Applications**.
1. Finish active work and quit Voyager.
2. Run the new Windows installer.
3. Open Voyager after installation. If Windows blocks part of the alpha build, follow the [Smart App Control guide](https://voyager.so/help/windows-smart-app-control).
The AppImage supports in-app updates. A `.deb` installation needs a manual update.
1. Finish active work and quit Voyager.
2. Download the new AppImage or `.deb` for your installation.
3. Replace your AppImage and make it executable, or install the new `.deb` using your package manager.
4. Open the new version. See [Install on Linux](/get-started/install-linux) if it will not start.
Replace the application; keep your profile and project folders. See [Data locations](/reference/data-locations) if you want to locate them before updating.
## Update download failed
Voyager could not finish downloading the update.
1. Check your internet connection and available disk space.
2. Choose **Retry download**.
3. If the same failure returns, use the manual download above.
**Check:** The notification reaches **Update ready to install**, or the manually installed version appears in **About**.
**Still stuck:** Send [support](/help/get-help) your current version, offered version, operating system, and exact download error.
## Automatic updates are not available because no update feed is configured.
This installation cannot obtain updates from inside the app.
1. Open [Download Voyager](https://voyager.so/dashboard/download).
2. Install the latest build for your platform using the manual steps above.
**Check:** The new version appears in **About**. Linux `.deb` installations continue to need manual updates.
**Still stuck:** Send support your version and which installer you used.
## Automatic updates on Linux require running the AppImage build.
In-app Linux updates apply to the AppImage.
1. If you use `.deb`, install the latest `.deb` manually.
2. If you use AppImage, quit Voyager and open the downloaded AppImage itself.
**Check:** Your version updates, or the AppImage's update controls become available.
**Still stuck:** Include the installer filename and update message in your support request.
This documentation is built and hosted on [Mintlify](https://mintlify.com), a developer documentation platform.